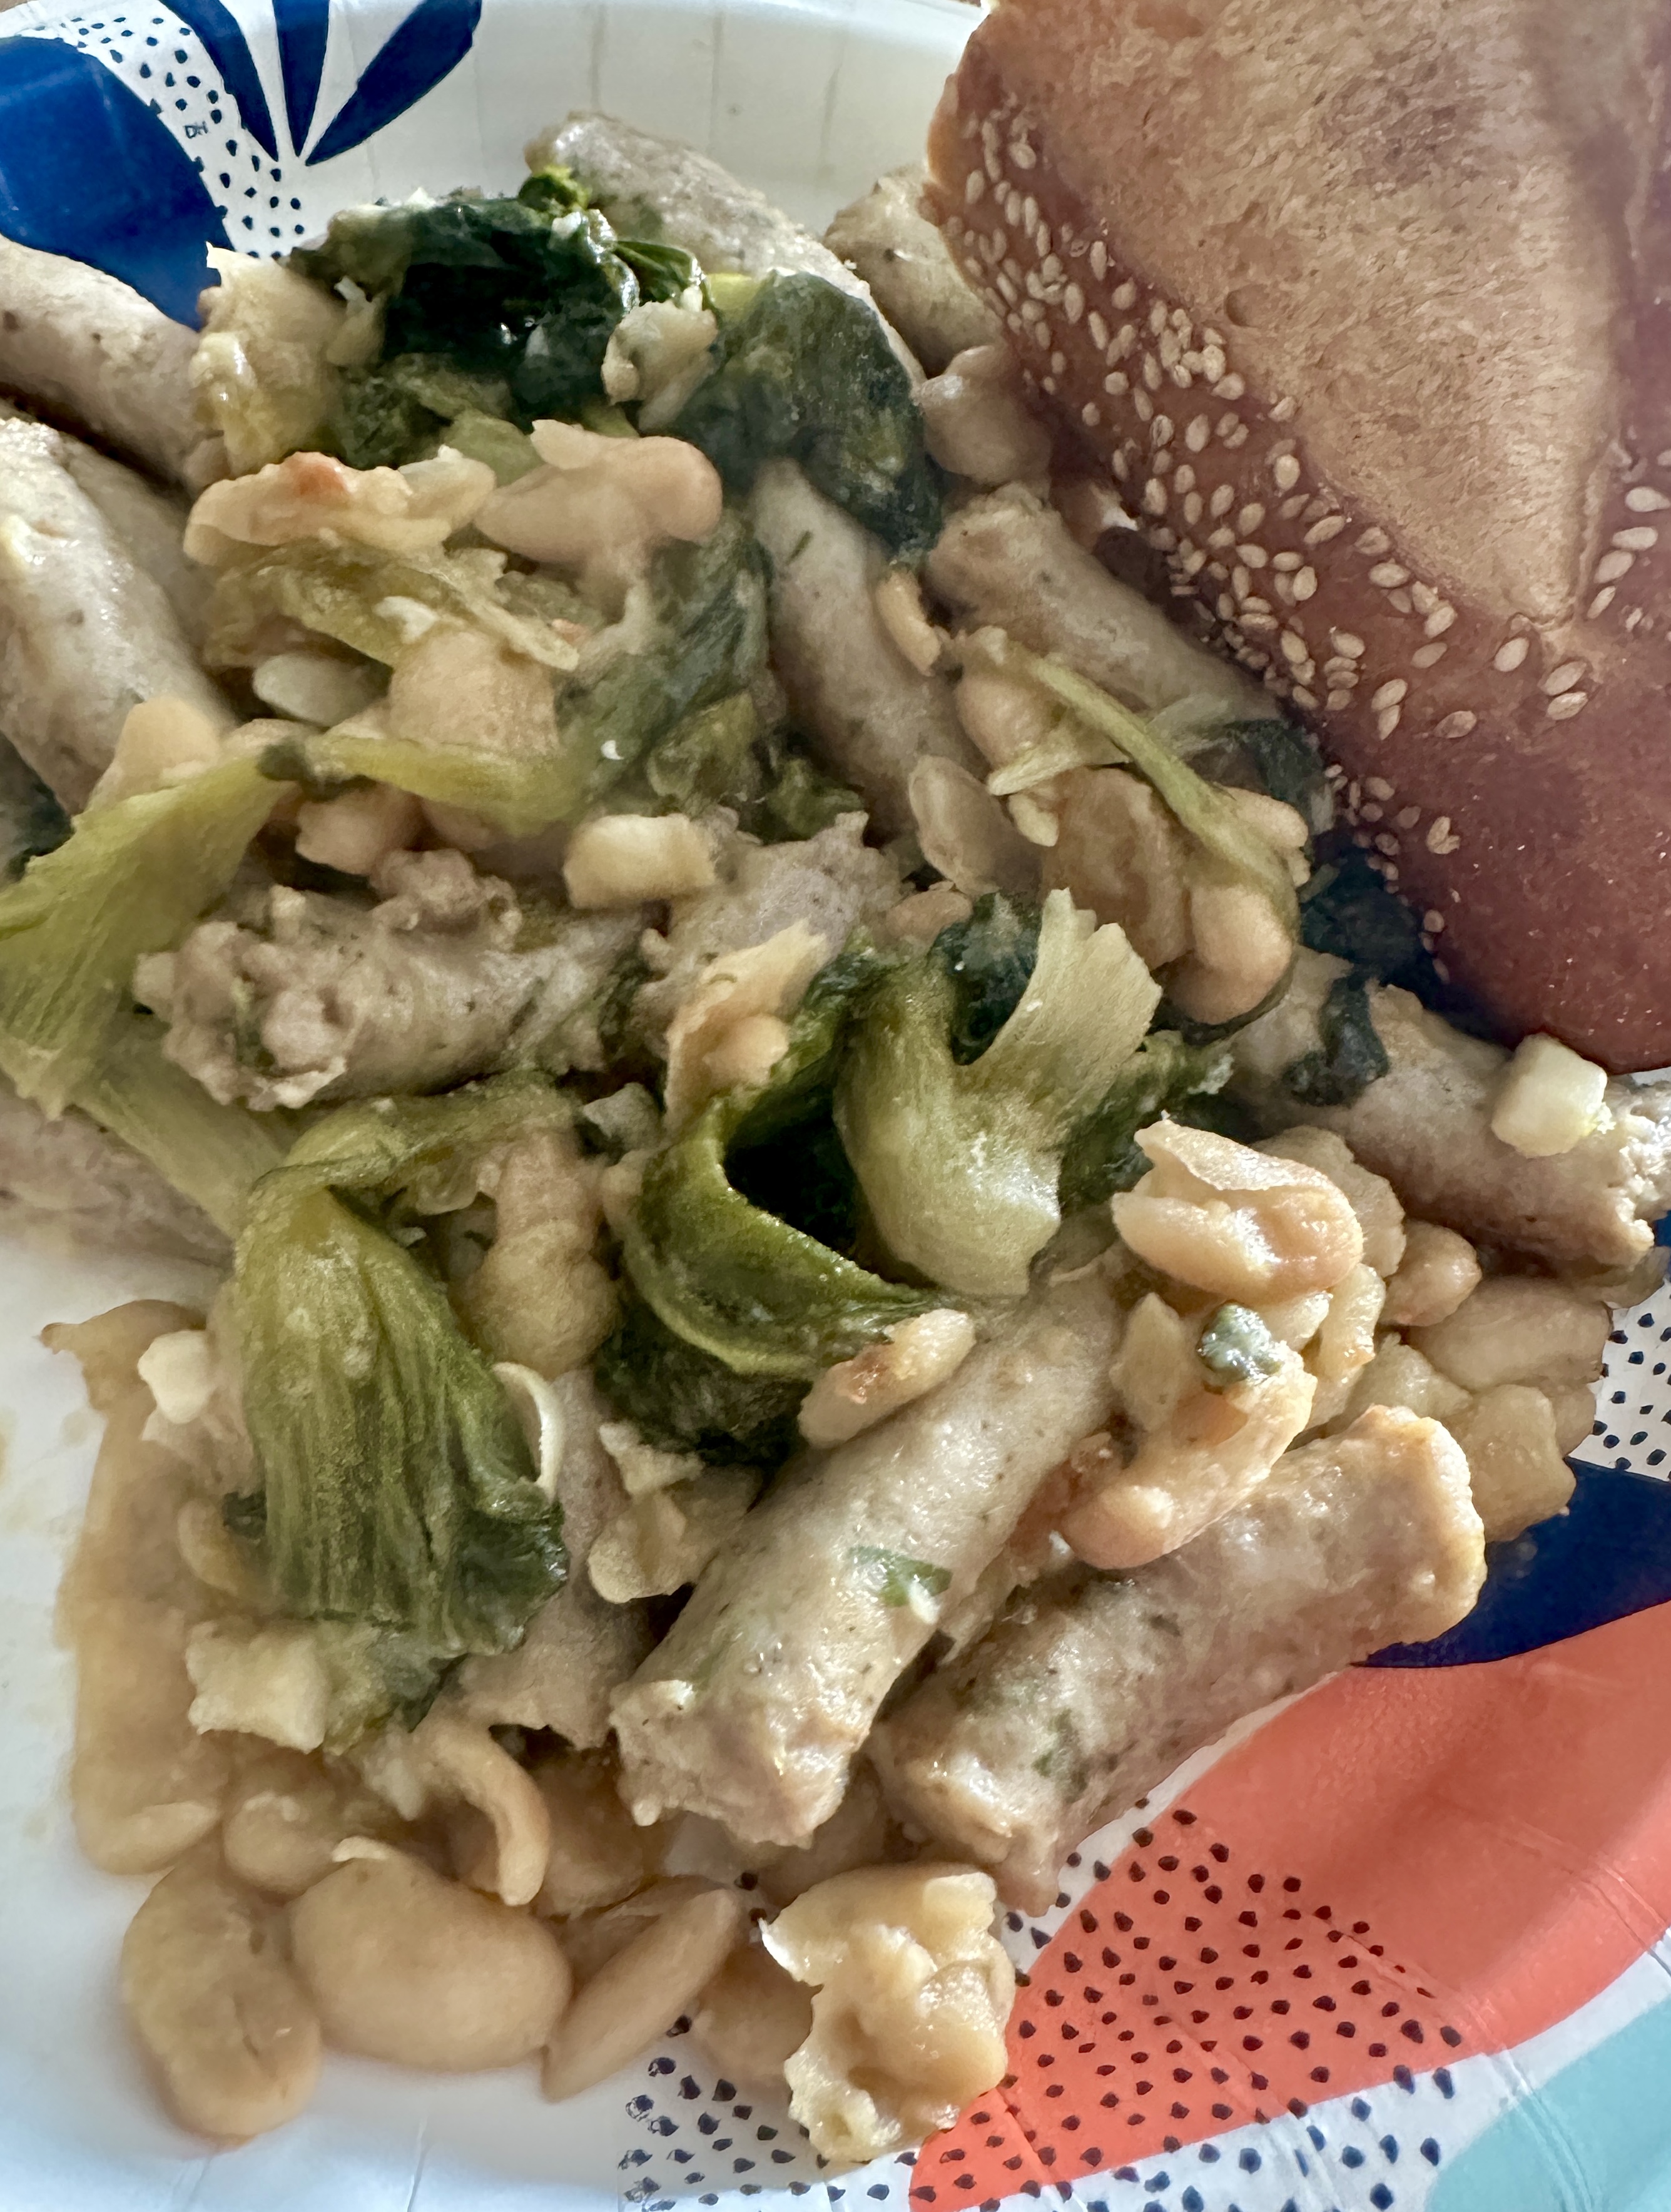
Here is another hearty meal you have to prepare at home. I don’t know any restaurant that prepares this.This is the perfect meal to enjoy during these long, cold, winter months in the North East. * If you have a hard time finding the ring of cheese and parsley sausage in your area, regular sweet or hot Italian sausage will do as well. It’s not only important to use good quality ingredients but the technique in cooking this dish is also important. I’ll explain in the recipe.
When my grandmother prepared scarola, she would saute some garlic in olive oil in a large pot. Then she would add the scarola with some water and salt. She cooked it till it was tender. We would enjoy her scarola in a bowl with plenty of the liquid. We added extra olive oil and dipped our bread in it. She made it every time for me when I was sick. It became one of my comfort foods. Other members of my family would make scarola and add sausage and beans to the dish. They would remove all of the liquid. Then, they would saute the scarola on medium high heat until the beans broke up. The beans would get incorporated into the scarola. Adding some grilled sausage made this a delicious one pan meal.
1 ring of cheese and parsley Italian sausage*
1 large head of escarole
4 cloves of garlic, chopped
1 chicken bullion cube
1 cup water
1 can of cannellini beans, drained
1/4 cup olive oil plus extra for drizzle
red pepper flakes to taste
salt and pepper to taste
Use a large 14″ skillet to prepare this recipe. It has to be large enough to hold all the ingredients. First brown the sausage on medium high heat about 4 minutes on each side. Remove the sausage to a plate and put aside till later.
In the same pan add the extra virgin olive oil and saute the garlic for about 1 minute. Add the washed escarole with one cup of water and chicken bullion cube. Cover the pan and cook down the escarole for about 10 minutes. While the escarole is cooking remove the skewers from the sausage that are holding the ring together. Cut the sausage into 1-2″ pieces.
Once the escarole is tender add the beans. Turn up the heat to medium high and cook off most of the liquid while stirring. Cook till the beans start to break up. Add back the sausage and any liquid from the dish. Reduce the heat and cook till everything comes together and the sausage is heated through. Drizzle with some more olive oil and taste for salt and pepper.
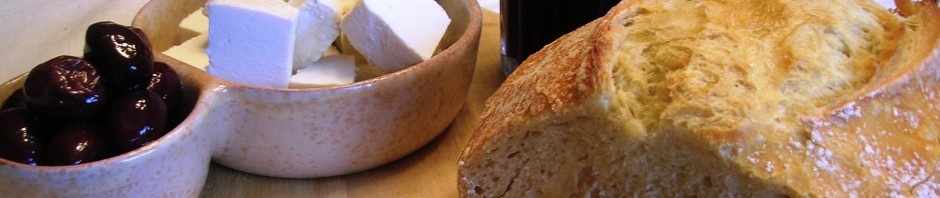
Serve with a crisp loaf of Italian bread and enjoy!
This hearty dish is not something you would find in an Italian restaurant. This is truly a home cooked meal bursting with flavor. My Sicilian grandmother made variations of this dish, most notably sauteed broccoli with garlic, olive oil, black olives and pork. Those flavors come alive in this one meal pasta dish. The broccoli is cooked down so it creates a cream sauce when mixed with the pasta water and Romano cheese. Old school Italians like their vegetables cooked really well. I always remember my mother complaining when a waiter served string beans or broccoli that were steamed and crisp. She always sent them back to be cooked more. Well, this dish would make her happy. The sausage meat is broken up into bite size pieces when browned. This makes it easier to eat with the bow tie pasta. I find eating this with a spoon works very well. Served with a side salad, this is a very satisfying meal.
Bring a large pot of water to a boil. Add 1 tablespoon of salt to the water. Add the washed broccoli to the boiling water and cook at least 8-10 minutes. Broccoli must be cooked till it’s very soft.
While the broccoli is cooking, take the sausage out of the casing and brown in a large frying pan. Pick off bite sized pieces of the sausage adding to the hot pan. Remove the sausage to a dish and set aside. Drain all the fat from the pan. Add 1/4 cup of olive oil and cook the garlic till fragrant. Remove the broccoli with a spider or mesh strainer and add to the frying pan. Cook the bow tie pasta in the same water you cooked the broccoli. Cook the pasta 1 minute less than the package suggests.
Add the olives to the pan with the broccoli. Cook down the broccoli and break up any large pieces. Add the reserved sausage to the pan with the broccoli. Once the pasta is cooked, remove it with a spider or mesh strainer. Add it to the pan with the broccoli and sausage. Add about 2 cups of the pasta water. Cook this while stirring for about 2 minutes. The mixture should get creamy, if not add some more pasta water. Remove from the heat and add the Romano cheese. Keep stirring till it all comes together. Taste for salt and pepper and drizzle with some more extra virgin olive oil.
It dawned on me the other day of certain foods I missed from my childhood. Both my mother and grandmother were great cooks. We always had a hot meal for dinner and breakfast and lunch made with love. Sometimes it was leftovers, sometimes my mother made a special meal just for us. When we were in school my mother packed great lunches. Usually leftovers from the night before. Or a fresh made salad with tuna or egg. Either way I always traveled to school with a greasy brown paper bag. Never had a lunch box like some of the kids. But whatever was packed in that brown paper bag was always the envy of the lunch room.
Both my mother and grandmother made a great pizza. Homemade dough, fresh tomato sauce, and plenty of mozzarella cheese. But on occasion, I remember my mother taking a shortcut. She made pizza out of English Muffins and day-old Italian bread, depending on what was in the house. These were nothing like the real thing, but they were darn good.
While I was shopping at the supermarket last week memories of that french bread pizza came to mind. I swung around to the bakery section. I picked up a loaf of seeded semolina bread. It was supplied by an excellent local bakery called Anthony’s. I picked up a jar of pizza sauce, some pepperoni and a package of mozzarella. Everything I needed to make that french bread pizza. It has been so long since I had it but it’s a recipe you never forget. Here is how I do it.
1 loaf of French or Italian bread, divided
A jar of your favorite pizza sauce
a block of mozzarella or a bag of shredded mozzarella
Pepperoni or any other topping you prefer
olive oil
Pecorino Romano grated cheese
Depending on the size of the loaf of bread, cut it in half or thirds. Split the bread on one side leaving the other end in tack. Open the bread like a book and place on a piece of aluminum foil sprayed with cooking oil.
Spread a couple of tablespoons of pizza sauce on each side of the bread. Cover as much of the bread as possible. Next cover the top with the mozzarella. Add your topping of choice, and sprinkle on the Romano cheese and a drizzle of olive oil.
Place the pizza on top of the foil in a pre-heated 400 degree oven. Cook the pizza for about 8-9 minutes. Wait until the cheese is bubbly and the edges of the bread are slightly browned.Remove from the oven and let rest 5 minutes. Cut the pizza down the middle and then across. You should have four slices of pizza.
Cold cuts are getting very expensive at the deli. Especially roast beef or turkey breast. And if you get the premium brands the roast beef can cost you over $12 per pound. I found an easy way to enjoy roast beef sandwiches at half the cost. This method avoids all the preservatives they add to processed meats. Get yourself an eye round roast from the butcher. A 2 pound eye round is enough for me. This method of preparing and cooking the roast is fool proof and comes out perfect every time.
2 – 3 pound eye round roast
Worcestershire Sauce
1 teaspoon salt
1 teaspoon garlic powder
1 teaspoon onion powder
1 teaspoon Italian seasoning
1/2 teaspoon of black pepper
1/2 teaspoon of smoked paprika
Take out the roast from the refrigerator a half hour before you cook it so it gets to room temperature. Take all the spice ingredients and place in a small bowl. Mix well. Place the roast on a plate and sprinkle the Worcestershire sauce all over the meat and rub it in with your hands. Next spread the spice mix all over the meat, rubbing it in. If any gets on the plate just roll the meat in the excess to pick it all up.
Prepare a sheet pan or cookie sheet with aluminum foil on top. This helps with the clean up. Place a rack on top of the pan. Place your eye round on the center of the rack.
Preheat the oven to 500 degrees F. You want to cook the roast at 500 degrees for 10 minutes per pound. So if your roast is 2.3 pounds you want to cook it for 23 minutes. If it’s 3.5 pounds it should cook for 35 minutes. After the allotted time turn off the oven and do not open the oven door at all. Let the roast sit in the turned off oven for 2 hours. Do not disturb. Oh, and it will make your kitchen smell amazing!
At the end of the two hours remove the roast and place in a zip lock bag and put it in the refrigerator overnight. The next day you can slice the roast for roast beef sandwiches. If you have a slicer, all the better. I get a pretty good thin slice using my sharp carving knife. The Roast should keep for about a week. This will be one of the best roast beef sandwiches you ever had. Dress the sandwich with whatever you want. I like mayonnaise and tomato with a sprinkle of salt and pepper on the tomato on my sandwich. Occasionally I’ll add a few slices of cheddar with tomato and mustard. Sometimes I heat up some beef gravy in a small frying pan and place the sliced beef over the gravy. Once it’s warmed I place it over a couple slices of toast for a delicious open faced roast beef sandwich. You will get plenty of meals out of this.
Who doesn’t love fried chicken? I could eat it at least once a week. But I avoid deep frying anything, so oven baked is the better option for me. I prefer the dark meat so that is what I use in this recipe. You can use any combination of white or dark meat you like. I get two meals out of this and the left overs are even better.
I have a previous post on Italian Baked Fried Chicken. This version is different from the first post, in that the egg mixture is flavored with olive oil, balsamic and other seasonings. It adds a wonderful flavor to the chicken by marinating it.The addition of Panko breadcrumbs to the regular breadcrumbs adds the extra crunch. I also bake the chicken on a rack so the chicken does not sit and cook in it’s own fat. The chicken comes out crisp and delicious.
4 Chicken thighs and 4 chicken legs
1 large egg, beaten
2 tablespoon of olive oil
2 tablespoons of balsamic vinegar or red wine vinegar
1 teaspoon of salt
1/2 teaspoon of black pepper
1 teaspoon garlic powder
1 teaspoon onion powder
1 teaspoon Italian seasoning
3/4 cup each of 4-C Italian seasoned breadcrumbs and 4C Seasoned Panko Breadcrumbs
1/4 cup Pecorino Romano cheese grated
In a large bowl add the beaten egg, olive oil, balsamic vinegar, salt and pepper, garlic powder, onion powder, and Italian seasoning. Mix everything well. Add the chicken pieces and mix to coat well. Cover the bowl and place in the refrigerator for at least 3 hours, up to overnight.
Pre-heat the oven to 395 degrees. Prepare a sheet pan, that will fit the amount of chicken you have ,by covering it with heavy duty aluminum foil. It will save the clean up later. Place a rack on top of the sheet pan and spray or brush the rack with oil.
Place the seasoned breadcrumbs and the Romano cheese on a flat plate and mix well. Before coating the chicken, mix well in the egg mixture. Coat each piece of chicken well by dipping into the breadcrumbs on all sides. Press the breadcrumbs into the chicken to coat evenly. Place the chicken on top of the rack and bake in the oven for 50 minutes or until golden brown.
This is a dishes that you throw together in one pan. It’s a simple Sicilian peasant dish. If you don’t have Sicilian oregano don’t fret, use whatever oregano you have. Season it well with salt and pepper and that is pretty much it. This has to cook down fully, no crispy pieces please. It cooks down into a stew or cacciatore and is great as a main dish or side platter. You need plenty of Italian bread to sop everything up. Don’t be tempted to add grated cheese or mozzarella or some kind of other flavoring like vinegar and sugar. STOP! Please keep cheese away from this dish. Italians don’t put garlic or grated cheese or mozzarella in everything. Italian food stands on its own with simple flavors that are fresh with few ingredients. Don’t ruin it. When you eat this you actually taste the flavor of the eggplant. It’s not hidden with breadcrumbs, or garlic or cheese. The full flavor of every ingredient come through and stands on its own. The potatoes absorb everything and taste amazing.
Eggplant Pizzaiola
3 large eggplant, cut into large pieces
2-3 large potatoes, peeled and cut into large chunks
3 large red onions, cut in large chunks
1- 28 ounce can peeled plumb tomatoes, crushed by hand
1 cup of white wine
Salt and pepper to taste
3/4 cup extra virgin olive oil, plus more to drizzle
Sicilian oregano
In a large roasting pan crush the plumb tomatoes by hand. Crushing in the pan leaves less to clean up. Do not peel the eggplant. Slice off the top and discard. Now slice crosswise at least 2″ thick. The smaller pieces you can cut in half and cut the larger pieces into 4. Place in the pan. Cut the potatoes lengthwise then cut each half into 3 pieces, leaving them in large chunks. Do the same with the onion. Keep in large chunks. Add the white wine, salt and pepper generously, add the olive oil and a good sprinkle of the Sicilian oregano.
Roll up your sleeves and get in there with your hands and mix everything well. Place in the preheated 425 oven and bake for 1 hour and 45 minuets. Stir every half hour and just make sure everything stays moist. It will eventually cook down.
All the eggplant and potatoes have to be cooked down and tender. Remove from oven and let cool for half an hour before eating.
Goes well with a crusty loaf of Italian bread. Taste even better the next day at room temperature. Adjust for salt.
You read it right, Char Siu Pork. It’s a Chinese barbeque pork recipe. Now before I hear from someone that this is not Italian comfort food, I beg to differ. Hear me out. What Italian American growing up in the New York area in the 50’s and 60’s did not go out to eat Chinese food? What I mean is, when we went out to eat it was ONLY for Chinese food. I’m sure I was not the only family that did that. We never went to an Italian restaurant. Why would we? We had the best Italian food at home. Going out for Pizza was not considered going to an Italian Restaurant. It was going out for Pizza. The only thing we ate at a pizzeria was pizza, calzones and zeppoles. Period. Maybe an Italian ice or spumoni in the summer, but that’s it. So going out to eat for us was going for Chinese. It was good, plenty and CHEAP. I don’t know about you but my parents grew up during the great depression and they were extremely frugal. Back then the cheapest items were at the top of the menu and got more expensive as you went down. My father never ventured past the third item! Chinese food was the best deal in town. We always went out to eat as a family. The only spot on the menu my father choose from was the “Special Family Dinners” Choose 1 from group A and 2 from group B for a whopping $2.50 per person. For $3.00 per person you can choose two from group A (the more premium items) and two from group B. And of course it all included soup, egg roll, rice, tea, ice cream and fortune cookie.
So naturally eating in a Chinese restaurant was always a unique experience. Nothing we got there was ever made at home. Even the tea was special. I remember drinking the hot tea from those little cups without any handles. No milk, just sugar. I loved it. And the crispy noodles dipped in the duck sauce was their Italian bread at the table. My mother loved the hot mustard and put it on everything she ate. After the soup was served we were served our egg rolls. After that we all got clean plates and the waiter brought out the main dishes in those metal covered serving stands. It was always a thrill opening the dish and spooning out some chow mein onto our crispy noodles and white rice waiting on the plate. A few dabs of Chinese mustard and a sprinkle of soy sauce, mix and enjoy.
I loved the roast pork dishes. This recipe is for the Chinese barbeque pork. We have all had it. It’s delicious and sweet and savory with that signature red color on the outside. It comes in many different varieties like the strip of pork in lo mein and bits in fried rice and has morphed into many different items over the years, like boneless spare ribs.
Char Siu pork is made from the fatty cuts of pork like boneless pork shoulder roast. Boneless country ribs are also a good substitute to use. The leaner cuts of pork can also be used but will lack in tenderness and flavor. You need the fat. Pork belly is probably the best to use but I use a boneless pork shoulder roast for this recipe.
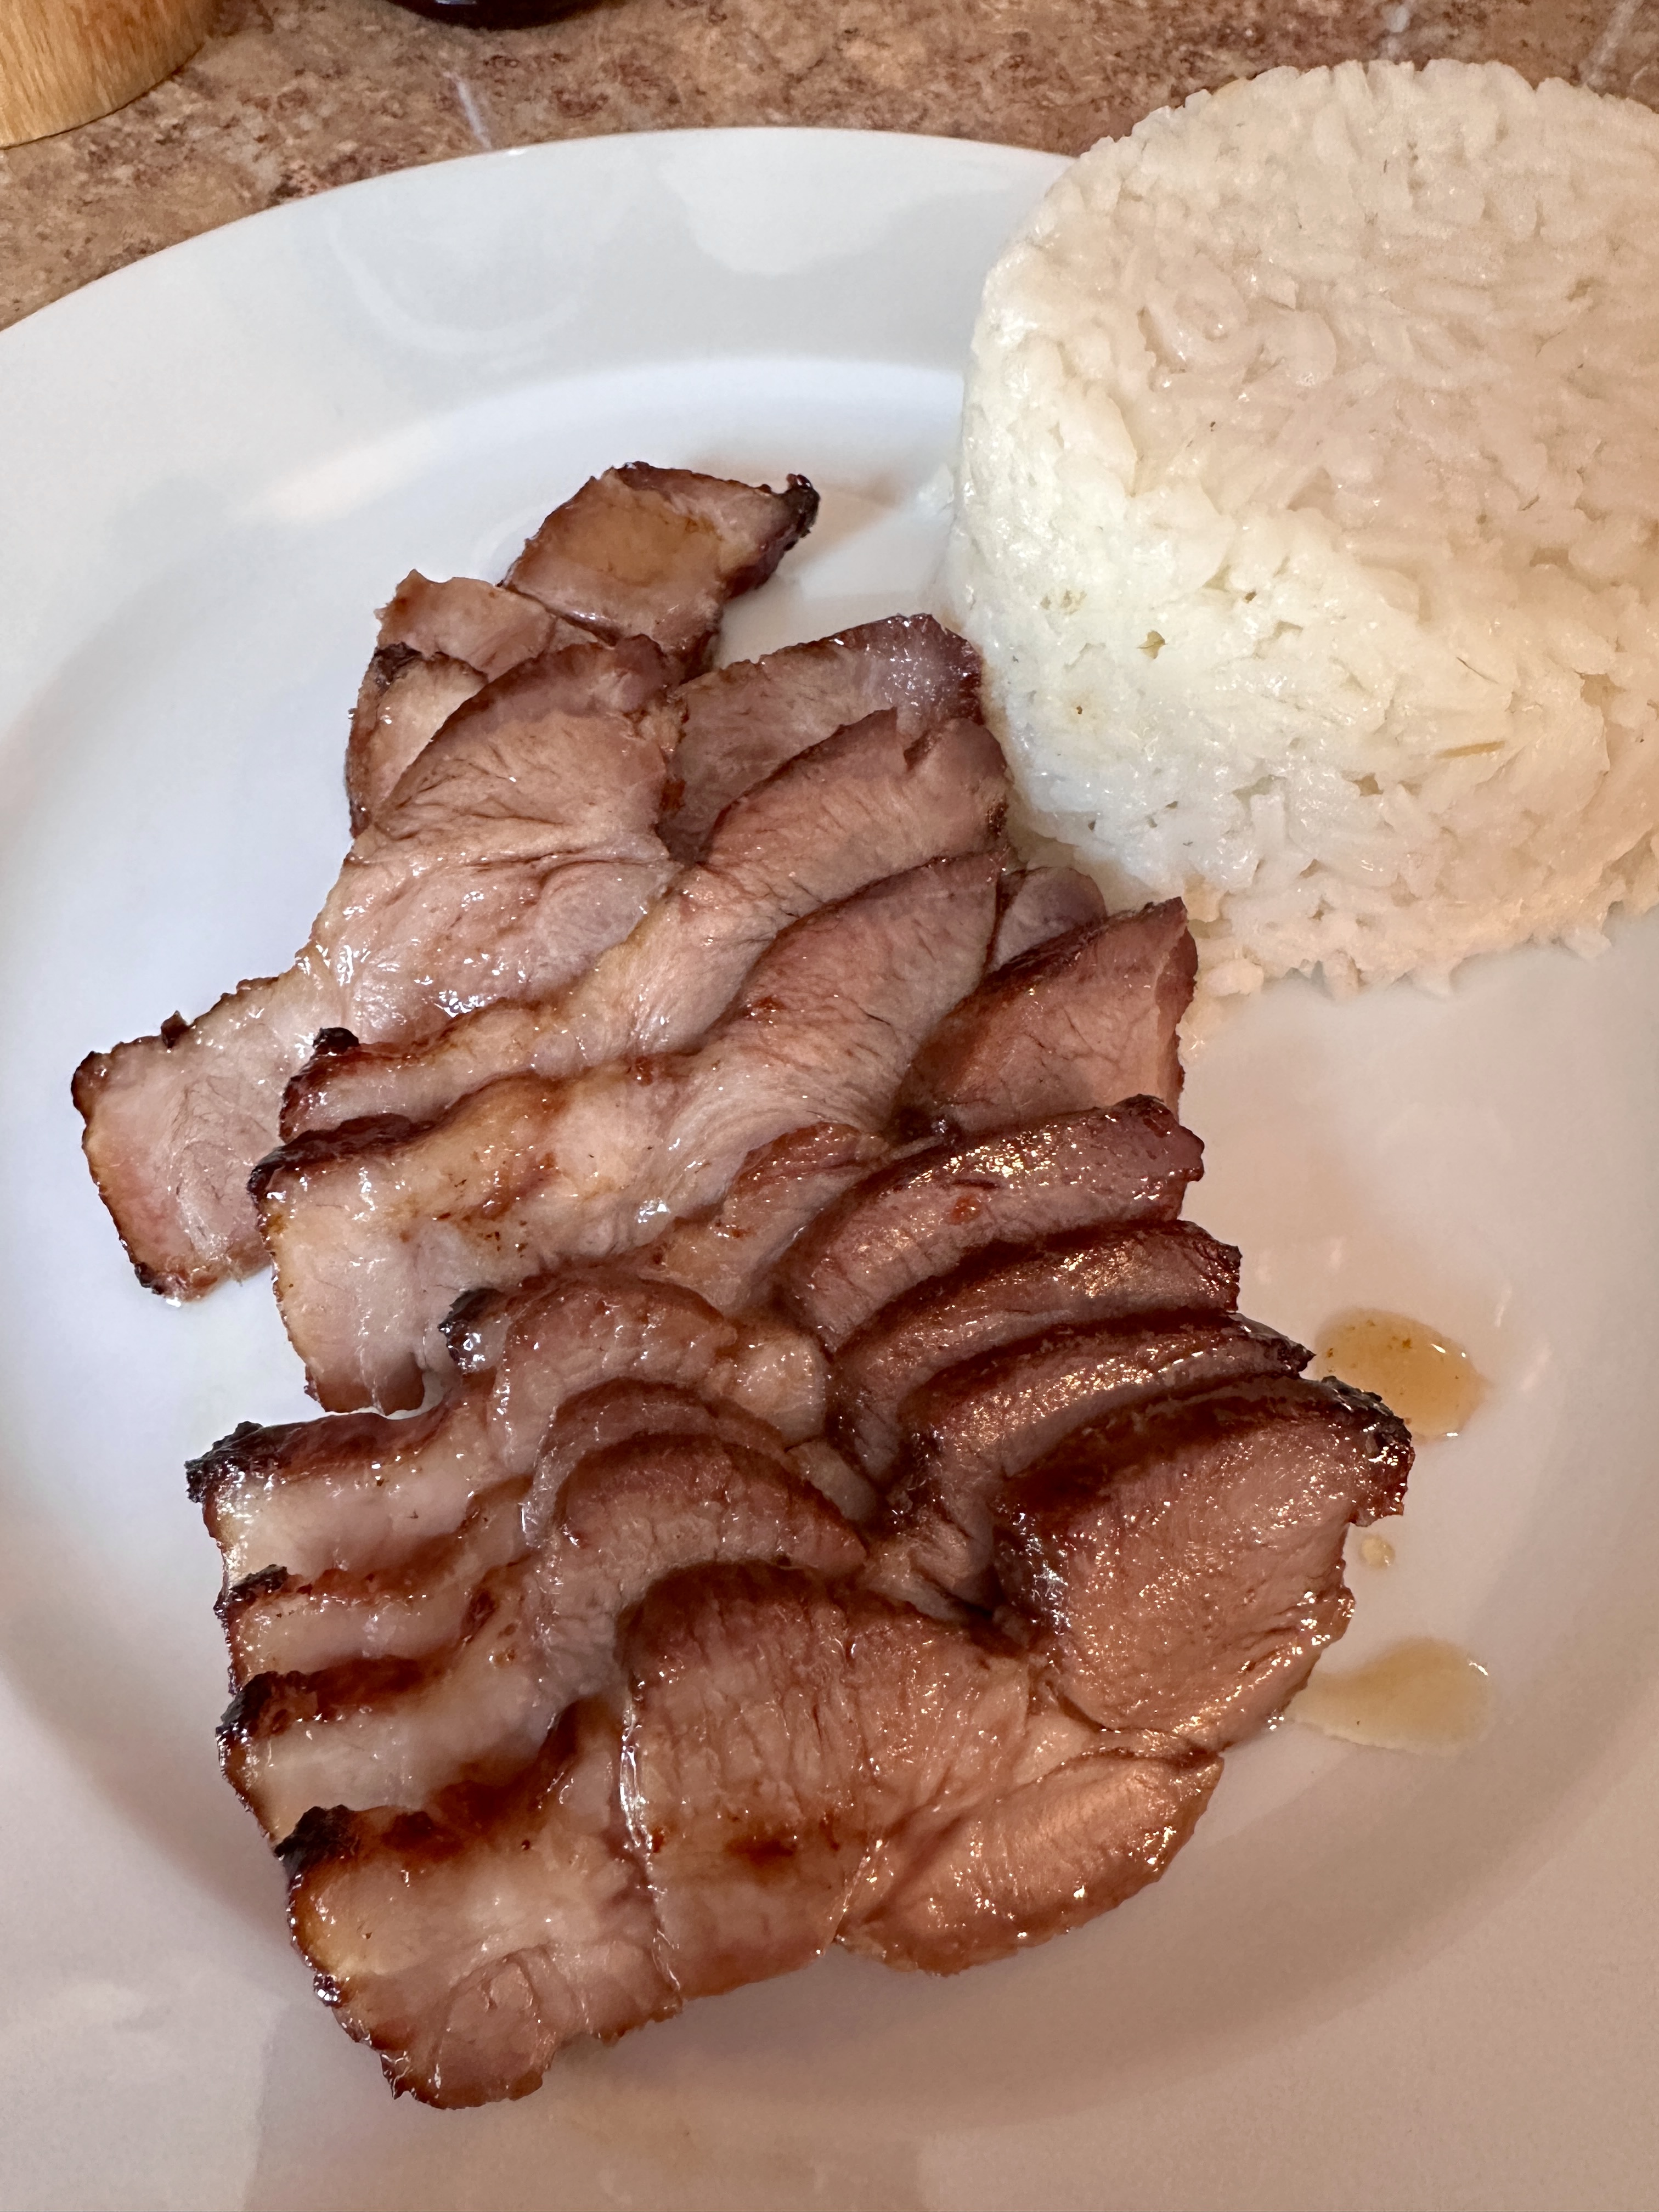
I cut it long ways along the grain into 1″ slices or strips. When the pork is cooked you slice it against the grain and enjoy a delicious tasty morsel with rice or noodle accompaniment.
Char Siu Pork
2 pounds of boneless pork shoulder roast cut into 1 inch slices or strips
4 tablespoons hoisin sauce*
3 tablespoons oyster sauce*
3 tablespoons granulated sugar
2 tablespoons regular soy sauce
1 tablespoon Shaoxing rice wine*
1/2 teaspoon sesame oil*
1 cube fermented red bean curd, regular red or rose are both fine*
3-5 drops of red food coloring, optional
1 1/2 teaspoons garlic powder
1/2 teaspoon Chinese five spice powder*
* Can be found in many Asian grocery stores and the Asian isle of your supermarket. If you don’t have any in your area, they are all on Amazon.
For the honey glaze:
3 tablespoons honey
1 tablespoon water
In a small bowl, mix together all the ingredients except for the pork shoulder. Smash up the fermented bean curd in the bowl using the back of a fork.
With the tines of your fork, puncture holes in the meat all around so it will absorb the marinade better. Place the pork shoulder or country ribs in a gallon zip lock bag, along with the prepared marinade. Squeeze out the air and seal the bag. Massage the marinade all over the pork for at least 2 minutes to get into every piece of pork. Refrigerate and allow the pork to marinate for at least 8 hours or overnight.
One hour before you bake the pork, take the marinating pork and leave in the bag on top of your counter to bring it to room temperature. Preheat the oven to 425 degrees F. Position the baking rack in the middle of the oven. Prepare a sheet pan lined with aluminum foil and a roasting rack on top.
Place the marinated pork on the prepared roasting rack, leaving as much space in between each piece as possible. Reserve the leftover marinade and place in a bowl.
Bake the pork for 45 minutes. Every 15 minutes, flip each piece of pork and baste on a layer of the reserved marinade. If the marinade dripping starts to burn, add some water to the pan and refill as needed if the pan becomes dry.
While the pork is cooking make the honey glaze. Just combine the honey and water in a bowl and mix well. Set aside.
After the final 15 minutes of roasting the pork should be juicy and perfectly cooked on the inside and slightly charred and caramelize on the outside. If it isn’t set the oven to high broil setting for a couple of minutes. Keep an eye on it so it doesn’t burn.
Once the pork is done, remove it from the oven and allow it to rest for 10 minutes. While resting, lightly brush some prepared honey glaze on the char siu. Make sure you use a clean brush.
After resting, cut the char siu into 1/4″ slices. Drizzle a bit more honey glaze on the char siu and enjoy!
My grandparents used to have macaroni with ricotta quite often. It’s a simple yet tasty way of dressing your pasta. Aside from adding some black pepper, the dish only included those two ingredients. I’m a big fan of ricotta. It’s the freshest cheese I know of. I like using a dollop or two of ricotta next to my macaroni and Sunday sauce. Ricotta and pastina was always a favorite as a child, and even as an adult for some comfort food. And a special mention of ricotta filled ravioli and manicotti. I love ricotta cheesecake, cannoli, and all the other sweet Italian treats made with ricotta. It’s a very versatile ingredient used in Italian cooking.
Adding pesto to macaroni with ricotta is an excellent way of adding a creaminess to your pesto dressing. You can use a traditional pesto of basil, garlic, Pecorino Romano cheese and pine nuts or add other ingredients to suit your taste. I like adding sun dried tomatoes to my pesto. https://cookingitaliancomfortfood.com/2010/08/29/pesto-with-sun-dried-tomatoes/ In this case I used basil, garlic, sun dried tomatoes, walnuts and Pecorino. Of course adding extra virgin olive oil to any pesto is part of the recipe. You can make your own pesto or buy ready made pesto. I usually make my pesto in the summer when my basil plants are in full production. I pack it in small containers and freeze to use all year long.
Here is a basic recipe for making homemade pesto:
3 cups fresh basil leaves
1/3 cup extra virgin olive oil, plus more if needed
2 cloves garlic
1/4 cup grated Romano cheese
1/4 cup roasted pignoli nuts
Salt to taste, about 1 teaspoon
Add all the ingredients to a food processor except the olive oil. Pulse the ingredients until they are all blended. In in steady stream, add the olive oil until the pesto is creamy. Add more if needed.
Pasta with ricotta and pesto
15 ounces of whole milk ricotta
1/2 cup pesto of your choice
1 pound linguine or spaghetti
Salt and pepper
In a medium bowl add the ricotta and mix in the pesto well, stirring till combined. Allow to reach room temperature.
In the meantime, boil water in a 5 quart pot with a tablespoon of salt and add the linguini. Cook according to package directions. Save two cups of the pasta water before draining the pasta.
Drain the pasta and return to the pot. Add the ricotta pesto mixture and mix well. Add some pasta water to get the consistency you like, you don’t want it watery but add till you get a creamy texture.
Add salt and pepper to taste and serve immediately with some grated Pecorino Romano cheese.
A crostata is an Italian baked pie or tart. Recipes go back to the 1400’s. It’s a rustic pie that has many variations. Usually it’s filled with some type of fruit. And fall in the northeast means it’s apple season. So what better way to use the huge varieties of apples we have this time of year. I’m a firm believer of using fruits that are in season. Sure apples are available all year long, but non have the freshness and quality that you get in the fall.
It’s not fall unless my house smells of cinnamon and apples. And usually when I visit the local farms I go to the cider mills because nothing says fall better than fresh pressed apple cider. Two of the mills I go to up here press the cider and just bottle it when you buy the gallon. They don’t use any preservative and don’t pasteurize it, so when I buy a gallon I fill up a half gallon pitcher with it and freeze the rest until I’m ready to use it. That way I’m sure it’s safe and fresh. I call it nectar of the Gods. And the only time I drink it is between September and November. Again, you can get “apple cider” all year long in the supermarket but I stay away from it because it’s filled with preservatives, and you can taste it. Buy in season!
This is a very simple crostata and easy to make. I have no trouble working with homemade pie crust. I think you are cheating yourself if you buy the ready made crust. Give this a shot, there is plenty of room for mistakes and no one will know but you. I promise, you will get better with a little practice. It’s worth it.
For the Crust:
1 cup of all purpose flour
3/4 stick of cold salted butter
dash of salt
1 tablespoon sugar
1/4 cup ice cold water
For the filling:
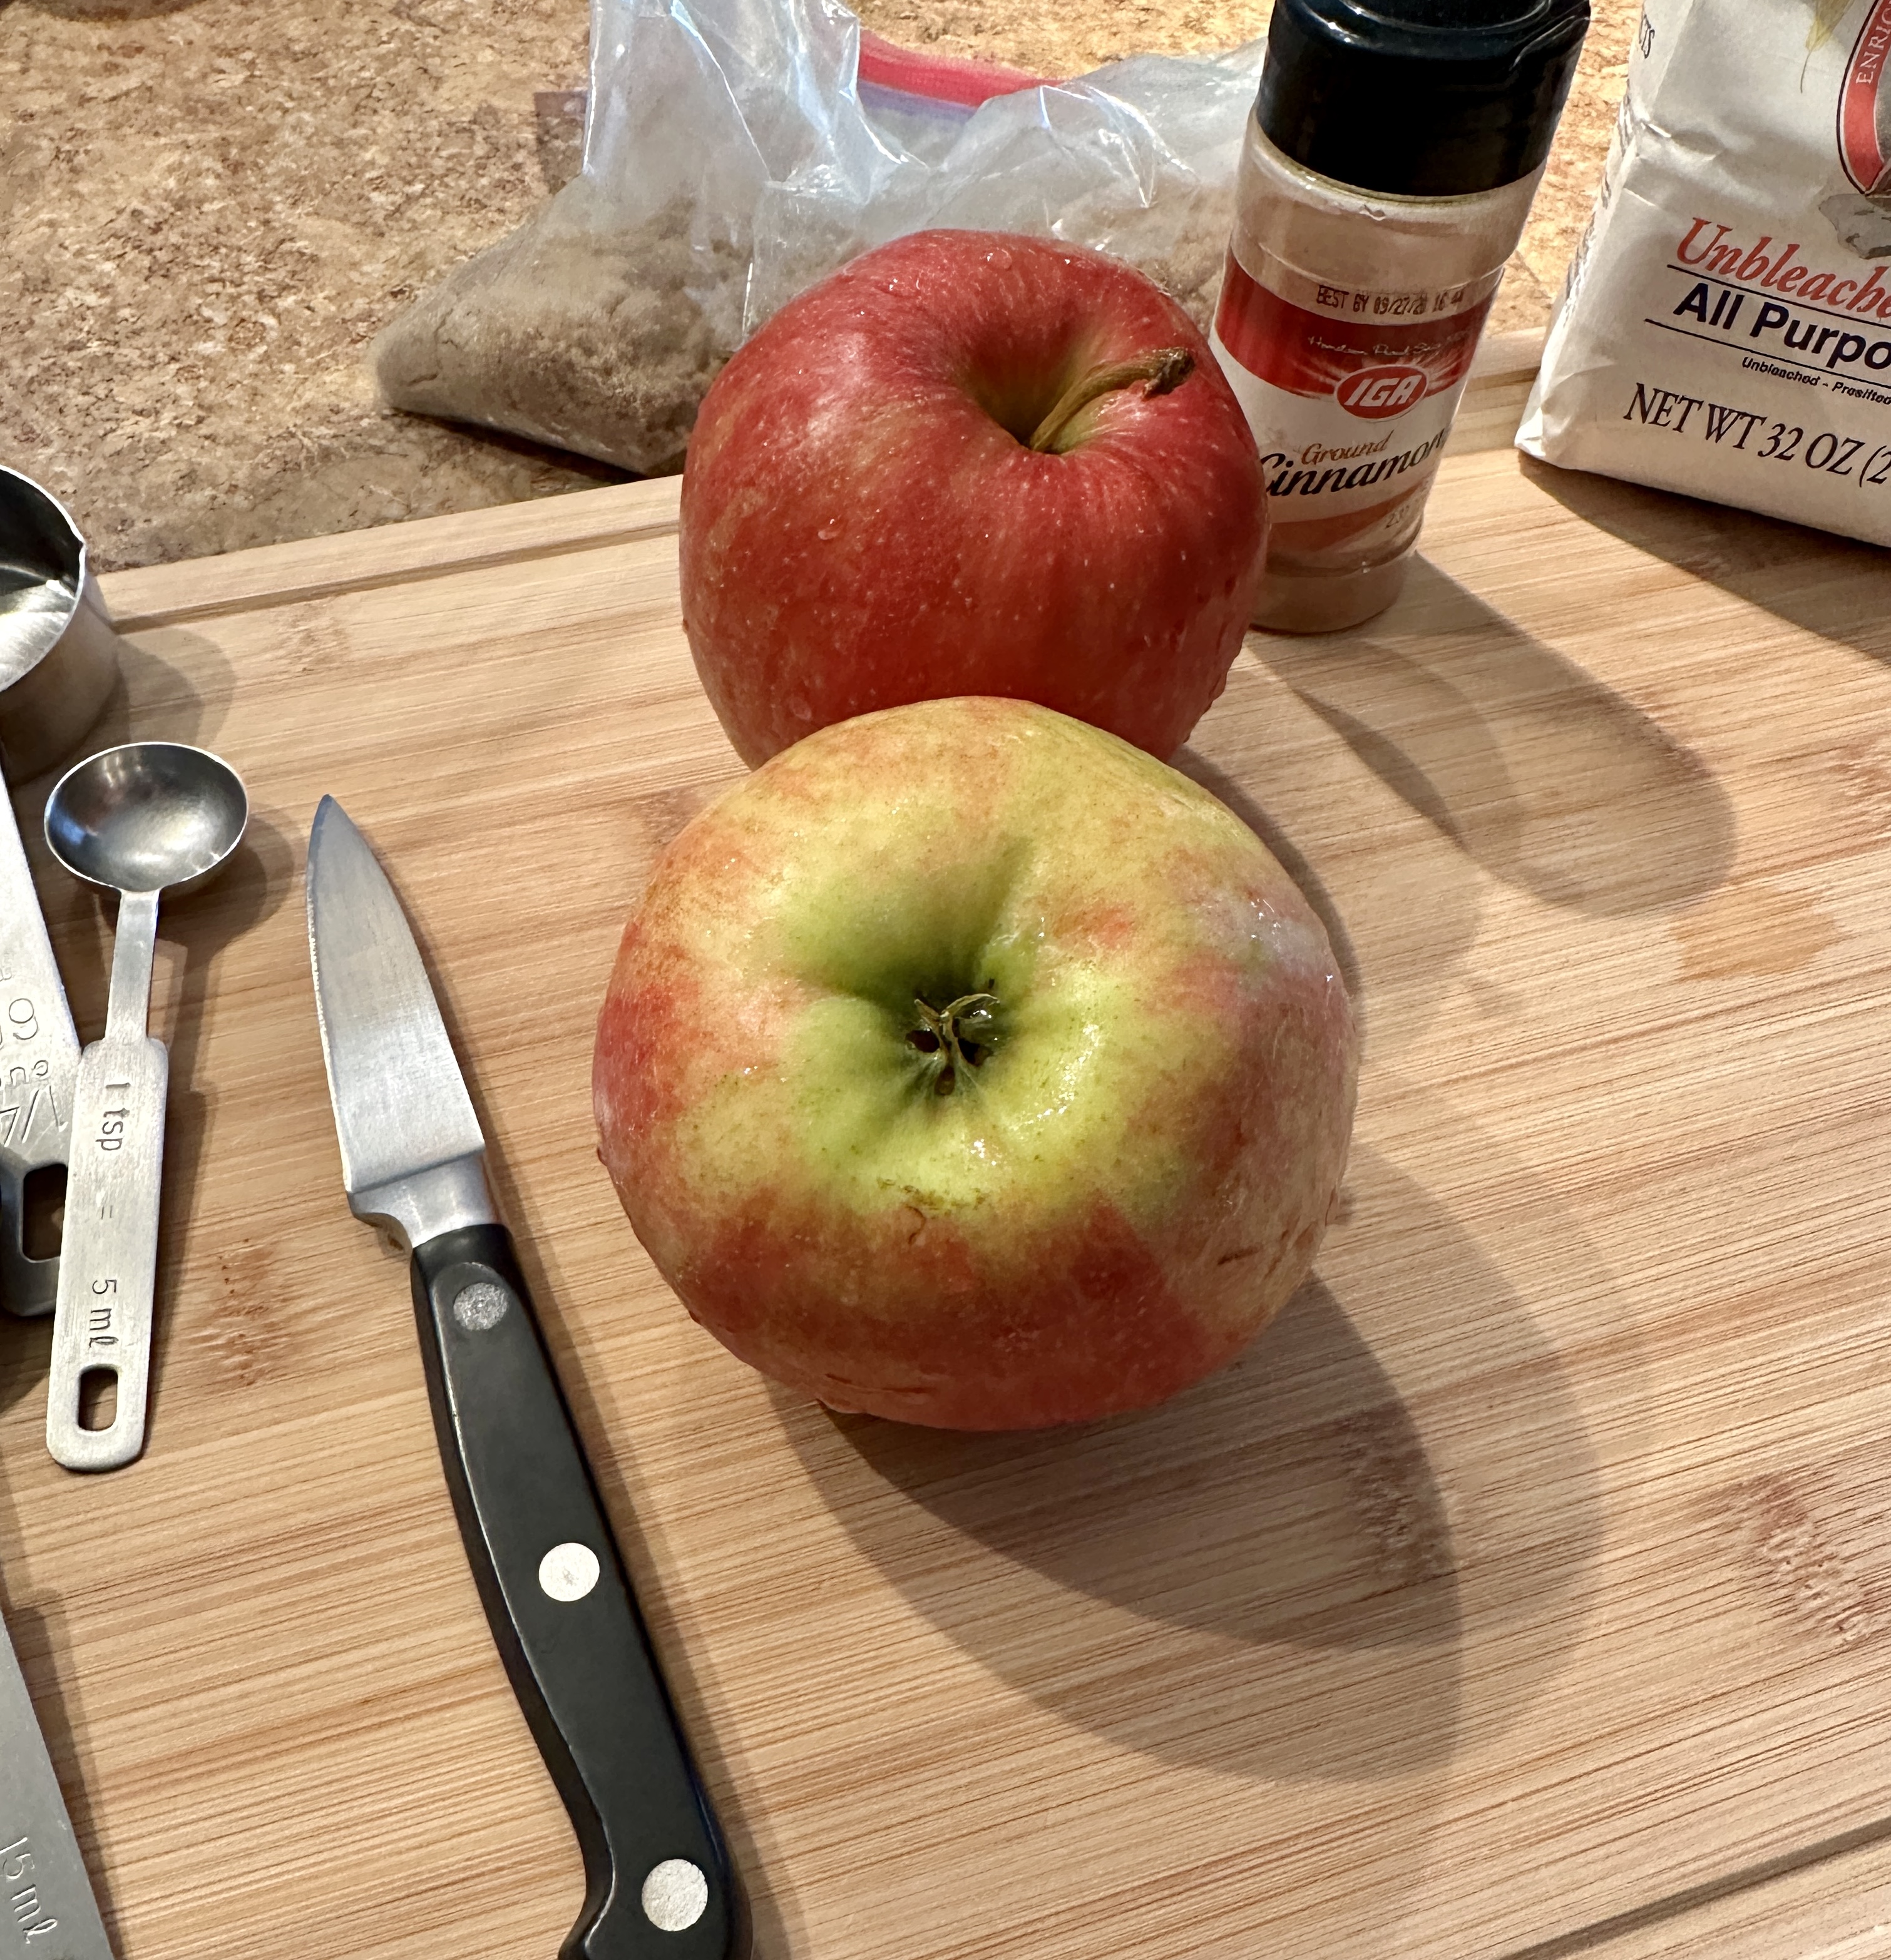
2 Jonagold apples or similar baking apple
1/4 cup dark brown sugar
1/8 cup white sugar
1/2 teaspoon cinnimon
2 tablespoons of all purpose flour
3 pats of butter
In a medium bowl add together the flour, salt and sugar. Mix to combine. Cut the butter into small cubes and add to the flour. I combine the butter and flour with my hands, squeezing them together and mixing until most of the butter is incorporated into the flour, and you have most of the butter the size of peas. Add the cold water and continue mixing with your hands until the dough comes together. Don’t overmix, you want to keep the butter pieces whole. Once it comes together lift the dough out of the bowl and form and press between your hands to form a ball. Place the ball back in the bowl and put in the refrigerator until your ready to use it.
Skin and core the apples and slice them fairly thin into a medium size bowl. Add the brown sugar, white sugar, cinnamon and flour. Mix with a spoon until all the apples are coated with the sugar flour mixture.
Place some parchment paper, at least 12″x12″, on your table top and liberally sprinkle with flour. Place the chilled dough ball on the floured parchment paper, and sprinkle some additional flour on top of the ball and on your rolling pin. Start to roll out your dough, lifting and turning a quarter of a turn each time you roll it out, until you have a 12″-15″ circle. As you lift and turn the dough make sure you pick up some flour underneath from around the parchment paper. Place the apple mixture in the center of the pie leaving some space around the edges. Place the pats of butter around the apples. With the help of the parchment paper, lift the edges of the dough to cover the apples, working your way around the pie. Gently press the dough around the apples. The dough should come up at least 1/4 of the way around the apples. As long as it forms a wall around the apples so the juice doesn’t spill out. This does not have to be perfect, it is supposed to have a rustic look.
Lift the crostata with the parchment paper onto a baking sheet. Bake in a preheated 400 degree oven for 45 minutes or until the crust is a golden brown and the apples caramelized.
If you’re ever in the vicinity of North East Pennsylvania, more specifically Lords Valley, on Route 739 you will run across Fretta and Miletti Pizza And Sausage Company Limited. For all my transplanted Brooklynites you should remember Fretta’s Pork Store from 86th Street under the El. And more recently, Fretta’s Pork Store in Milford, PA. The Milford location closed a number of years ago as Joe Fretta was looking forward to retirement. But alas, you can’t keep a good man down. Recently Joe and his older son Joe Jr., partnered with Paul Miletti. Two legends and masters in their culinary field, Joe and Paul opened Fretta and Miletti Pizza and Sausage Company, 625 Route 739, Lords Valley, PA., phone 570-775-3740. Joe Fretta has raised the bar on all his specialties that include fresh pork Italian sausages, all his homemade cured dry sausages, sopressata, and salami, huge hero sandwiches packed with Italian meats, cold cuts and the best accompaniments to any sandwich. This also includes homemade fresh mozzarella, the imported logs of Italian Provolone that hangs from the rafters giving off that beautiful pungent aroma that you notice as soon as you walk in the door. You get the picture, a true artisan bringing the best of Italian delis’ and salumerias home to you.
Homemade Italian sausage, sauteed peppers and onions
Now, as if that weren’t enough, Paul Miletti, third generation pizza maker, is carrying on the family tradition of his grandfather and father bringing you the “area’s best Pizza”. The Miletti family started making pizza in upstate New York in 1938 at The Dash Inn run by Joseph Miletti. In 1968 Nicholas and Delores Miletti opened up The Puzzle Lounge in Jamestown, New York. They developed a reputation in that entire region as “the areas best Pizza”. The way Joe Fretta raised the bar on his delicious food, Paul Miletti has done the same with the Miletti family Pizza. He has certainly raised the bar for pizza in NEPA.
You can’t put a label on the style of Miletti’s pizza. It’s not Sicilian, or Napolitano, nor New York Style or Chicago or Detroit. And there is nothing like it in NEPA. I can only describe it as the best of everything. It’s like the best homemade pizza you ever had, only better. The hardest part of buying a Miletti pizza is the ride home. It’s the smell of every delicious Italian meal you ever had and ever will have. If I ever get stopped by the police speeding home with a Miletti pizza all I have to do is tell the police officer to stick his head in my window and they should understand. You can smell and taste the quality of the pie through and through. The crust is light yet crunchy, the sauce is thick and tangy with just the right amount of sweetness. The mozzarella sits on top of a sea of sauce that is a true sign of grandma’s homemade pizza. Paul also goes the extra step in preparing all his toppings. He uses both spanish and red onions that he sautees in his onion topping. The sausage topping is real homemade Italian sausage, Mushrooms are fresh and sauteed along with his green and red peppers. The meatball topping is homemade as well as the homemade pepperoni topping. He has an extensive list of toppings, but each is fresh and homemade.
Another sign that you are getting amazing food is both Paul and Joe are proud of the meals they are serving you. When Paul makes his pizza he brings it out from the back and shows it to you before it goes in the box, like showing a new born baby to his expecting father in the waiting room. And like all expecting fathers you are getting a prized possession.
Prosciutto Bread/Lard Bread Recipe
Lard has been vilified over the last 50 years. Like so many other food items, including butter and saturated fats, the “experts” told us this stuff was not healthy and told us to use margarine instead of butter and seed oils like Canola and Vegetable oil. We are now finding out that Vegetable oil, although it sounds healthy, is the most processed and unhealthy oil you can put in your body. And we all found out about how unhealthy margarine is. Believe it or not, Crisco was first manufactured in the 19th century from an abundance of cotton seeds. They found a way to extract oil from the cotton seeds but it produced a oil that was dark and smelly. It was used for mechanical lubrication. Then a chemist named David Wesson found a way to bleach and deodorize the oil. After a successful marketing campaign that highly process sludge became Crisco. It was cheaper and easy to obtain. Lard took the back seat to this new shortening.
Today we are finding out how these highly processed oils can cause untold inflammation in the body and many other health concerns. It turns out, butter, olive oil, avocado oil, ghee, lard and saturated fats are not the villains they were made out to be in order to sell more cheaper and processed foods. Have I convinced you to start cooking with lard and bacon fat? Our bodies recognize those substances and will process them way better than the fake stuff. But don’t take my word for it, do your own research.
Anyway, this recipe calls for lard. I use the lard I rendered from the pastured pig I get each year. If you buy lard make sure it’s from pastured pork (you can find lard made from pastured pork on Amazon). If you don’t want to use lard, you can use grass fed butter like Kerry Gold or bacon fat. This bread is also enriched with salty chunks of prosciutto and Pancetta, so either way you’re getting your dose of pork in there. I also use a good imported provolone cheese mixed in with the pork. I assure you this bread is not short on flavor.
Once this bread is baked it is best eaten warm and fresh. Any leftovers can be reheated but once I make this there usually isn’t any leftovers.
2 1/4 cups of bread flour, plus more if needed
1 packet dry instant yeast
1 cup warm water
1 tsp sugar
1-2 tsp ground black pepper
1/2 tsp sea salt
1/4 cup plus 3 tbsp lard (or bacon fat or butter)
1/2 cup sharp provolone cheese, cut into 1/2 inch cubes
1/4 cup pancetta, diced
8 oz 1/8″ thick cut prosciutto, diced
In a large bowl, combine the yeast, warm water and the sugar. add 1/4 cup of melted lard, salt, pepper and flour and mix until the dough comes together. Knead by hand, or a dough hook in a mixer for 10 minutes. Dough should be sticky,but if it’s too sticky add another tablespoon of flour at a time as needed. Oil a large bowl and place the dough inside, cover and let rest for one hour, until doubled in size.
While the dough is rising, fry the diced pancetta in a small skillet over medium heat until rendered and crispy.
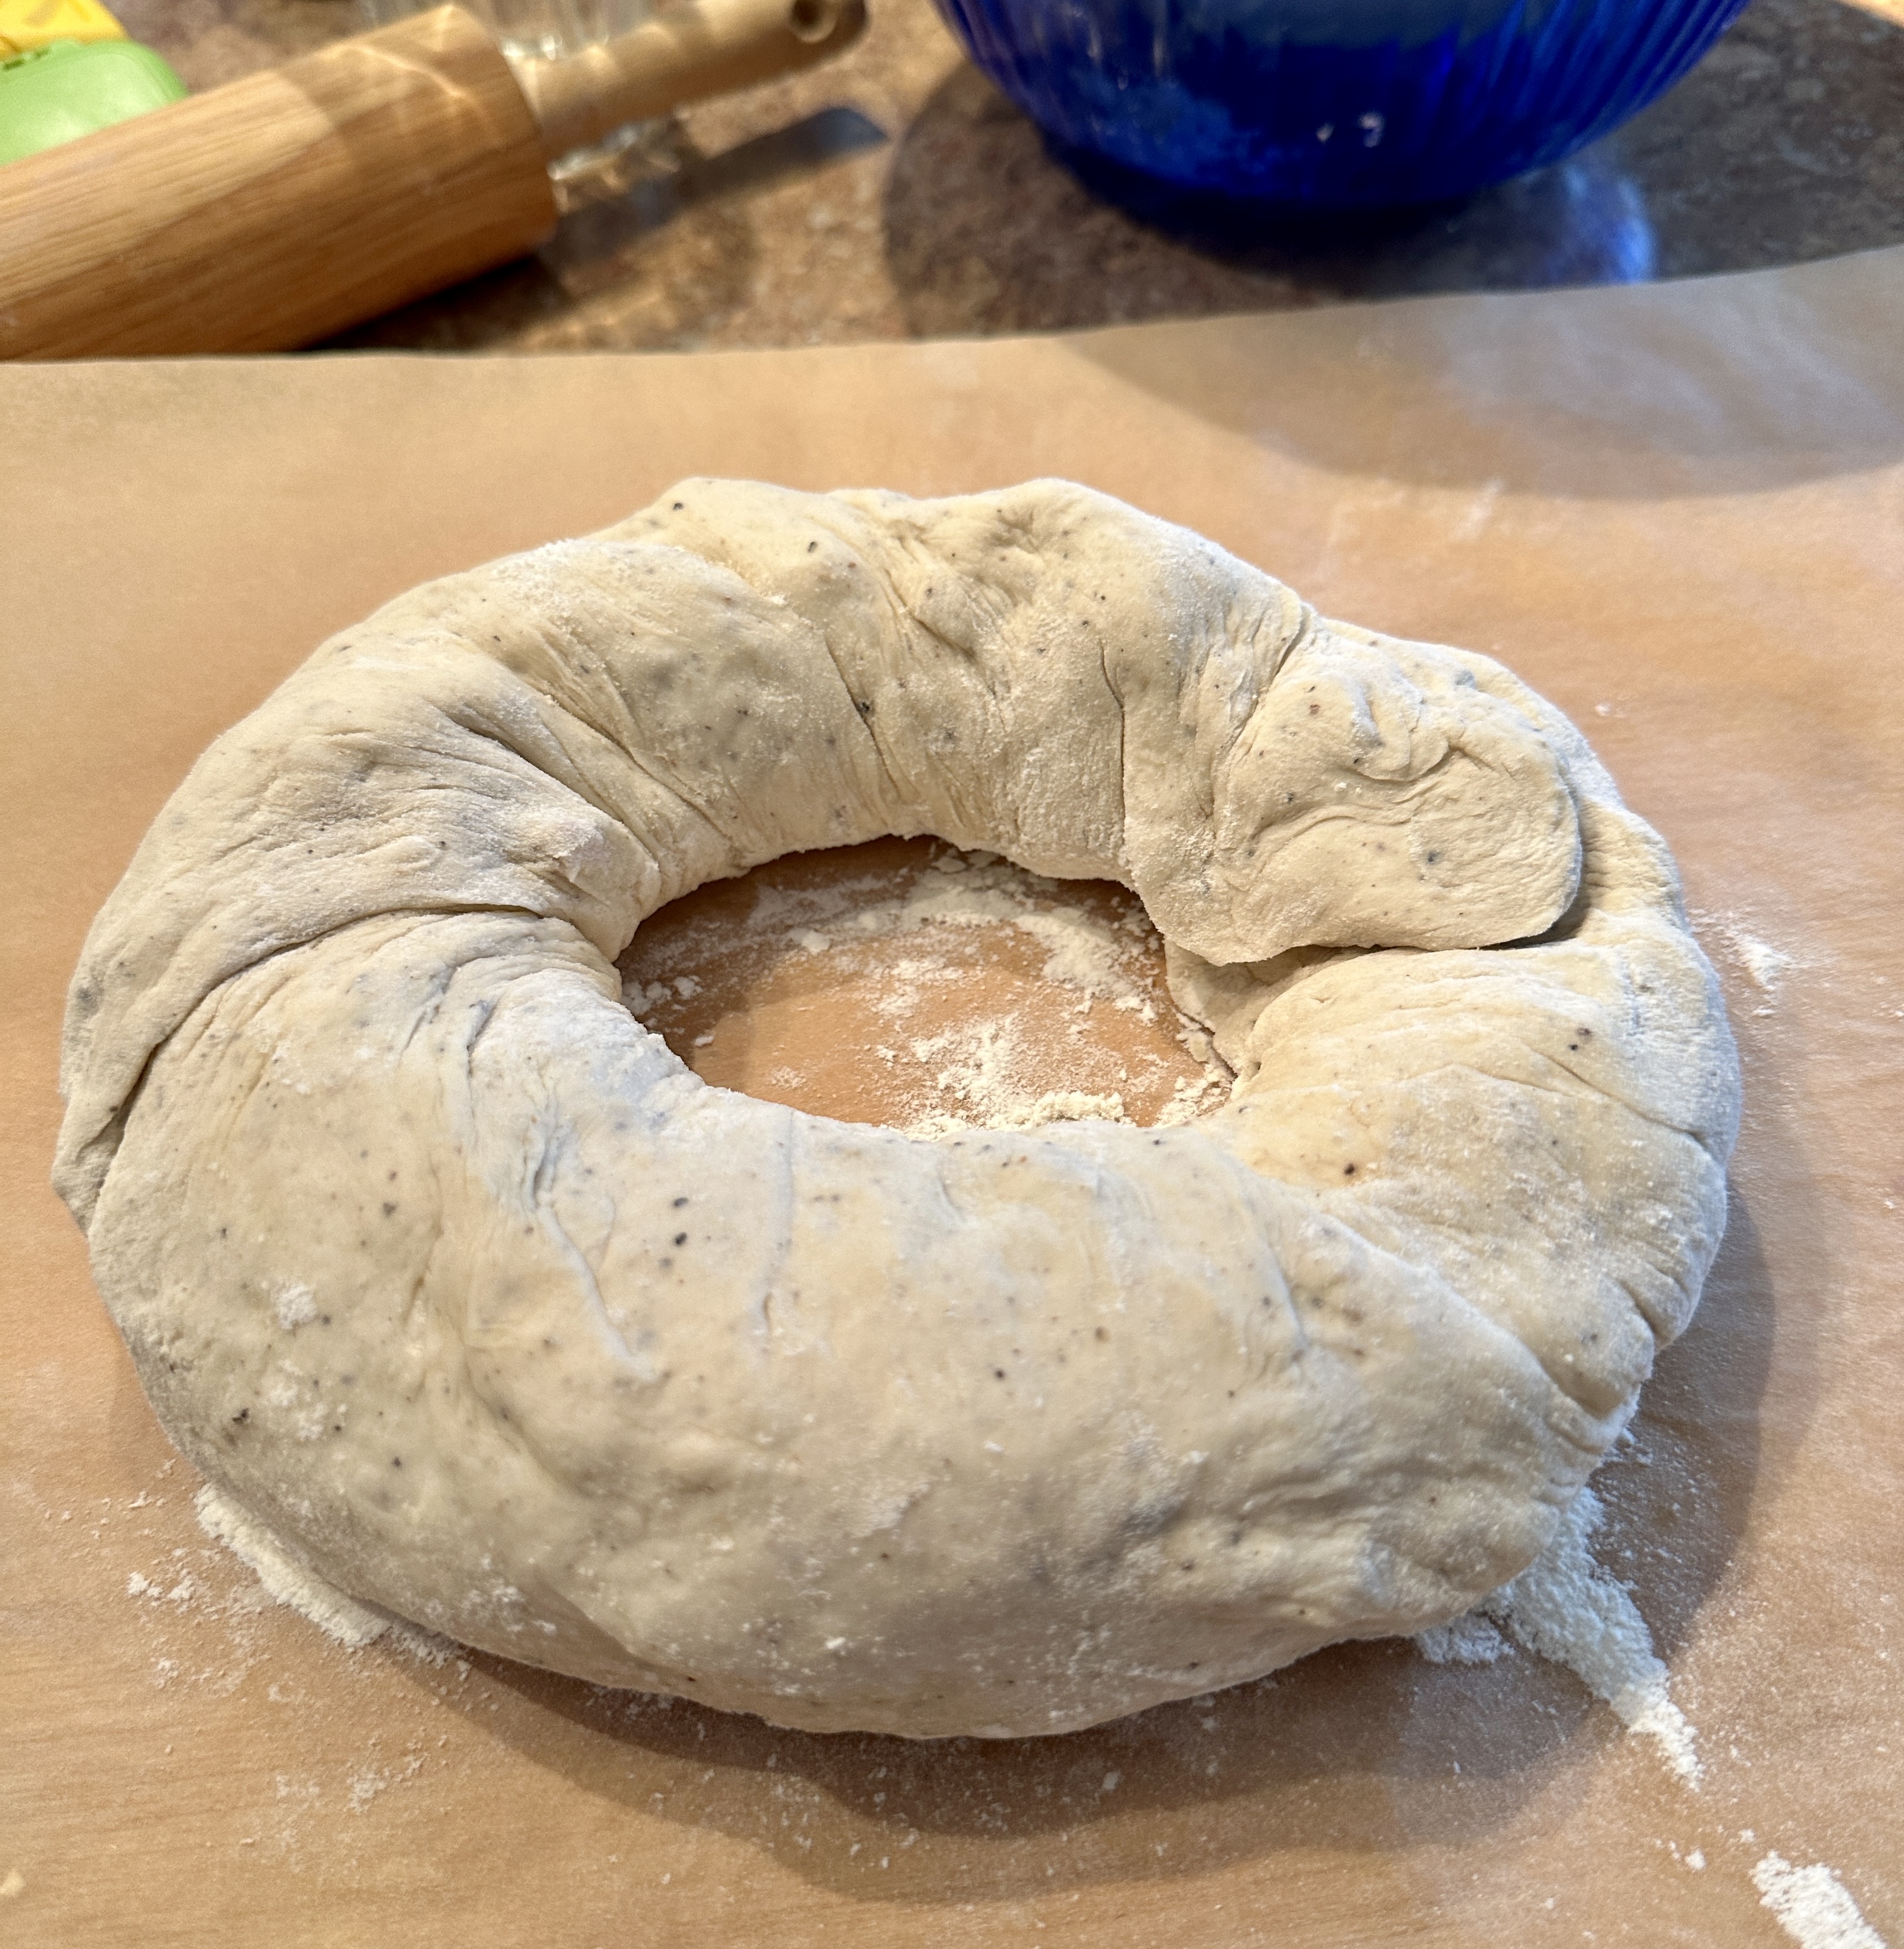
Invert dough onto a large sheet of floured parchment paper. Roll it into a large oval about 15″ x12″. Spread the prosciutto, pancetta and provolone on top. Starting from the long end, roll the dough into a log then twist the dough a few turns. Form the dough into a ring and connect the two ends. Cover with a towel and let rise again for 1 hour.
Preheat the oven to 400 degrees. Place a large cast iron Dutch oven, or pizza stone, or la Cloche bread baker in the oven until it heats. Melt the remaining lard and brush onto the bread. When the oven is heated, remove the cooking vessel or stone and use the parchment to transfer the bread onto it. Cover the bread if you’re using a dutch oven or La Cloche. Bake for 35-45 minutes, until golden brown. If covered, remove the cover for the last 15 minutes until dark golden brown. Brush the bread with the lard at least 2 more times while browning. Remove from the oven and brush with remaining melted lard.