This has to be one of my all time favorite macaroni dishes. And it’s pure Sicilian.
When I was 14 years old and traveled throughout Italy with my brother Richard we spent two weeks with my Aunt Angie and Uncle Benny in Sicily. We stayed at a small family run resort near the seaside town of Riposto, not far from Taormina. Riposto was the town my Uncle Benny was from.
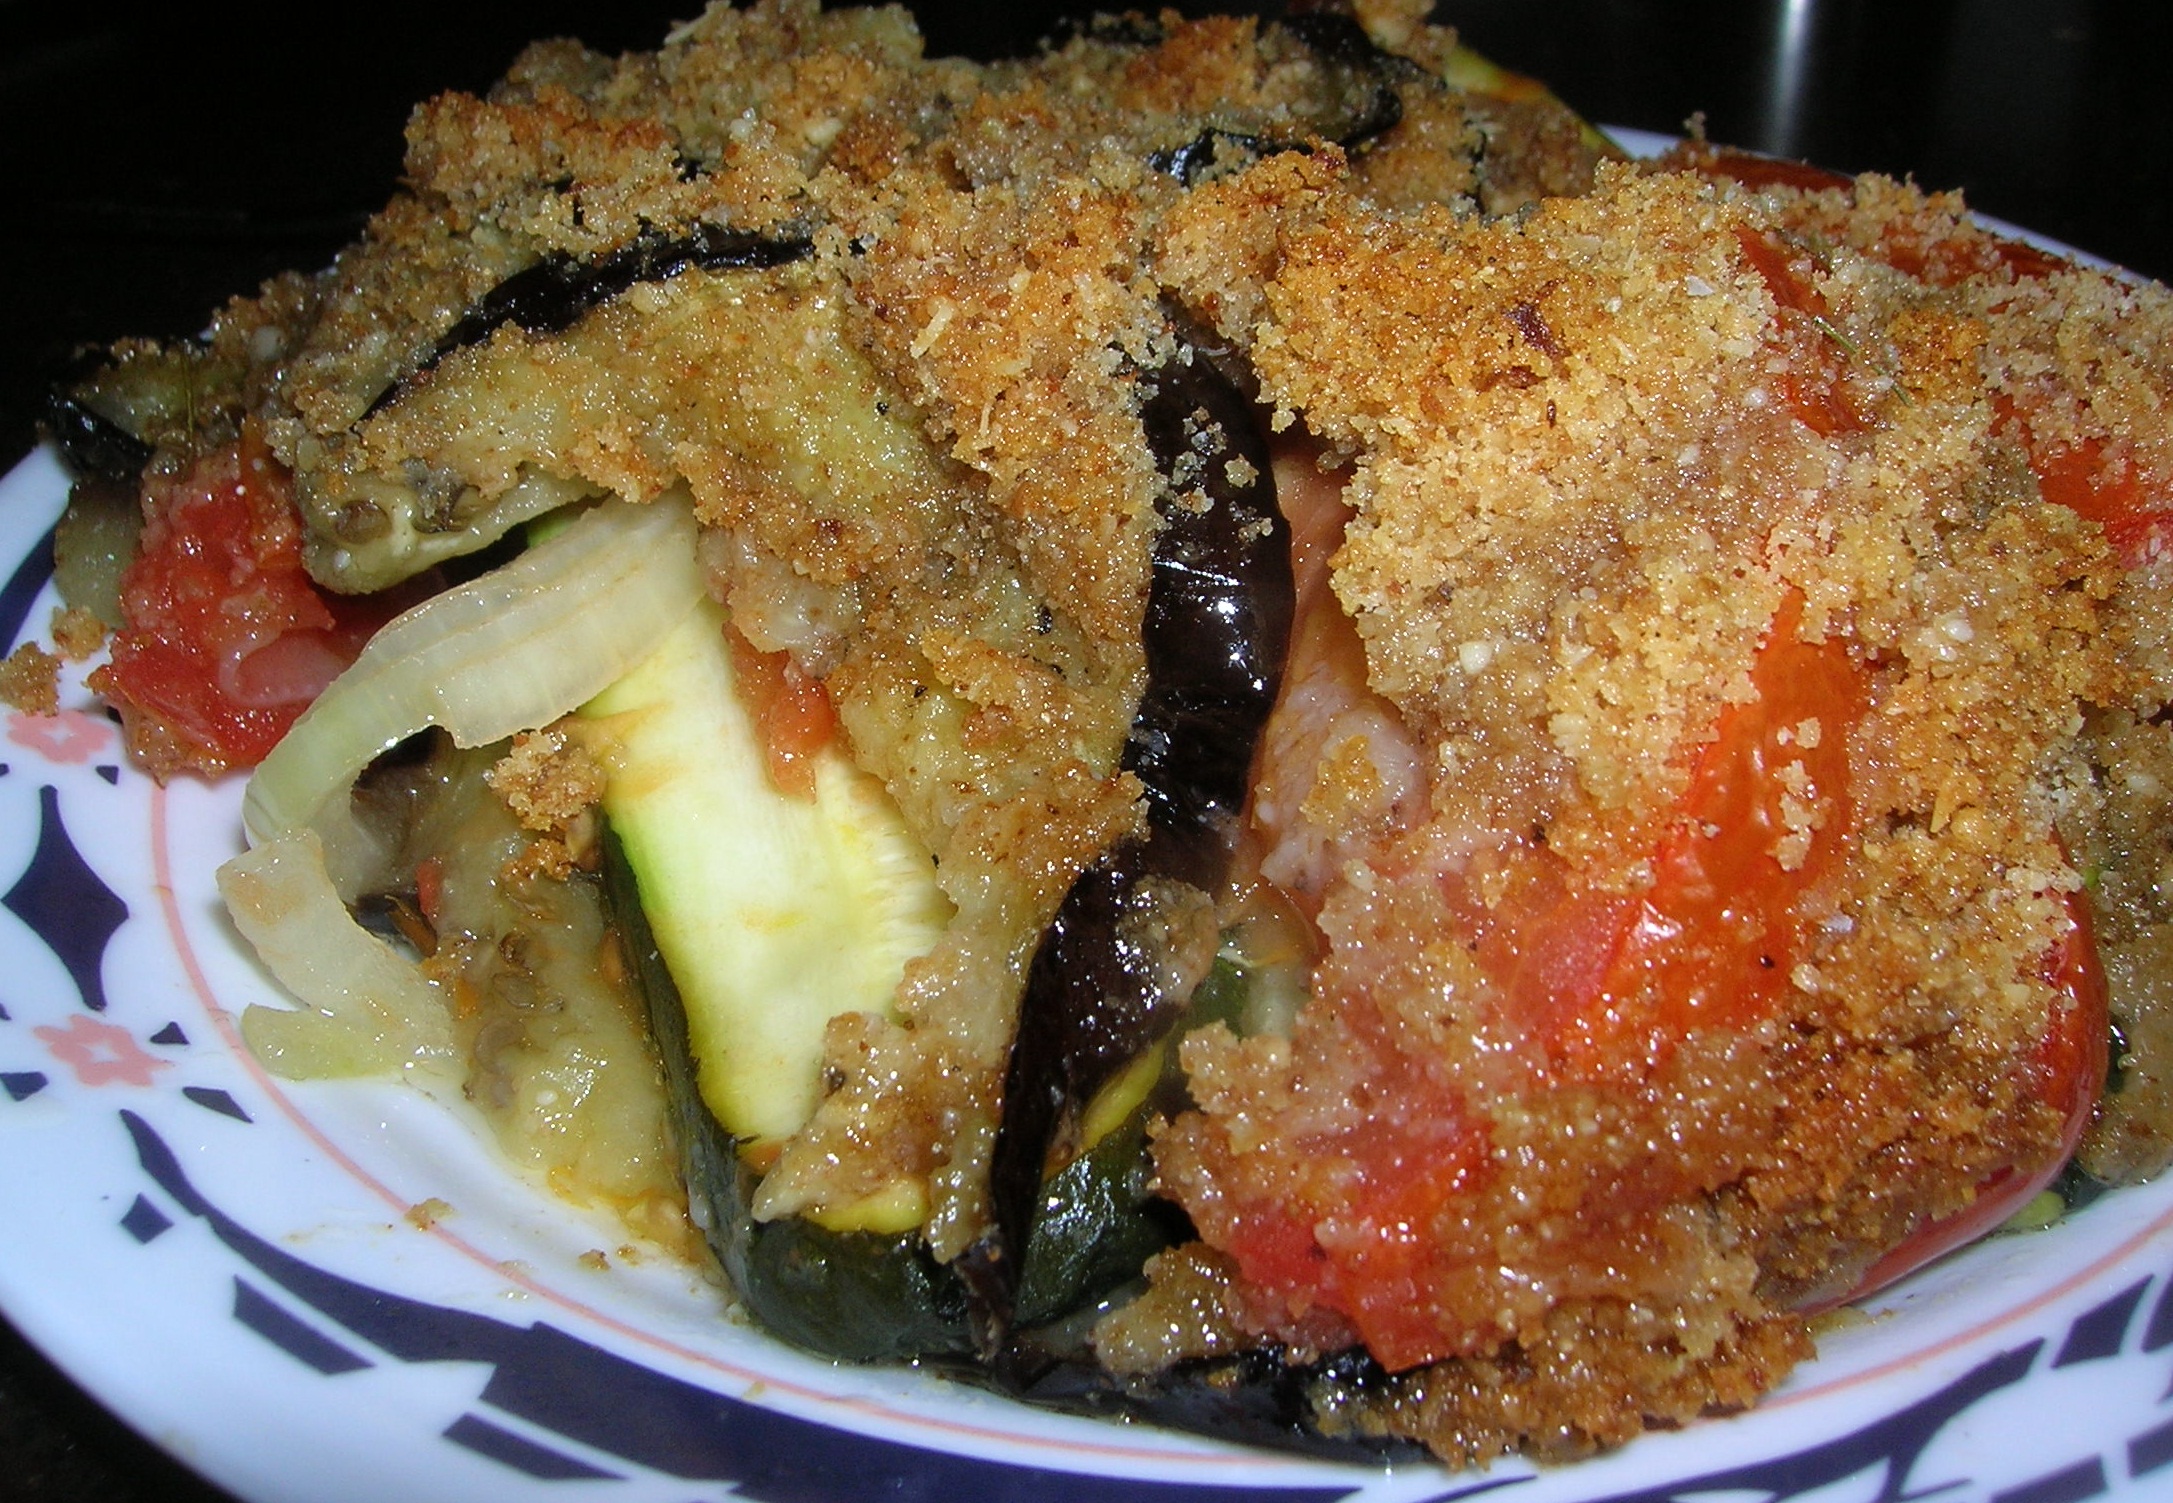
A memorable dish they served us for dinner one night was a plate of macaroni with a slice of fried eggplant draped over the top. I never tasted something so wonderful in my life. The macaroni was dressed with a simple light marinara sauce made of fresh tomatoes, garlic and basil. And sitting on top of the plate of pasta was two fried slices of eggplant. It couldn’t be more simple than that. We cut the eggplant into the macaroni and sprinkled on some grated cheese. I’ve been making it that way ever since. And each time I dig into that plate I’m eating a slice of Sicily.
Macaroni with Eggplant
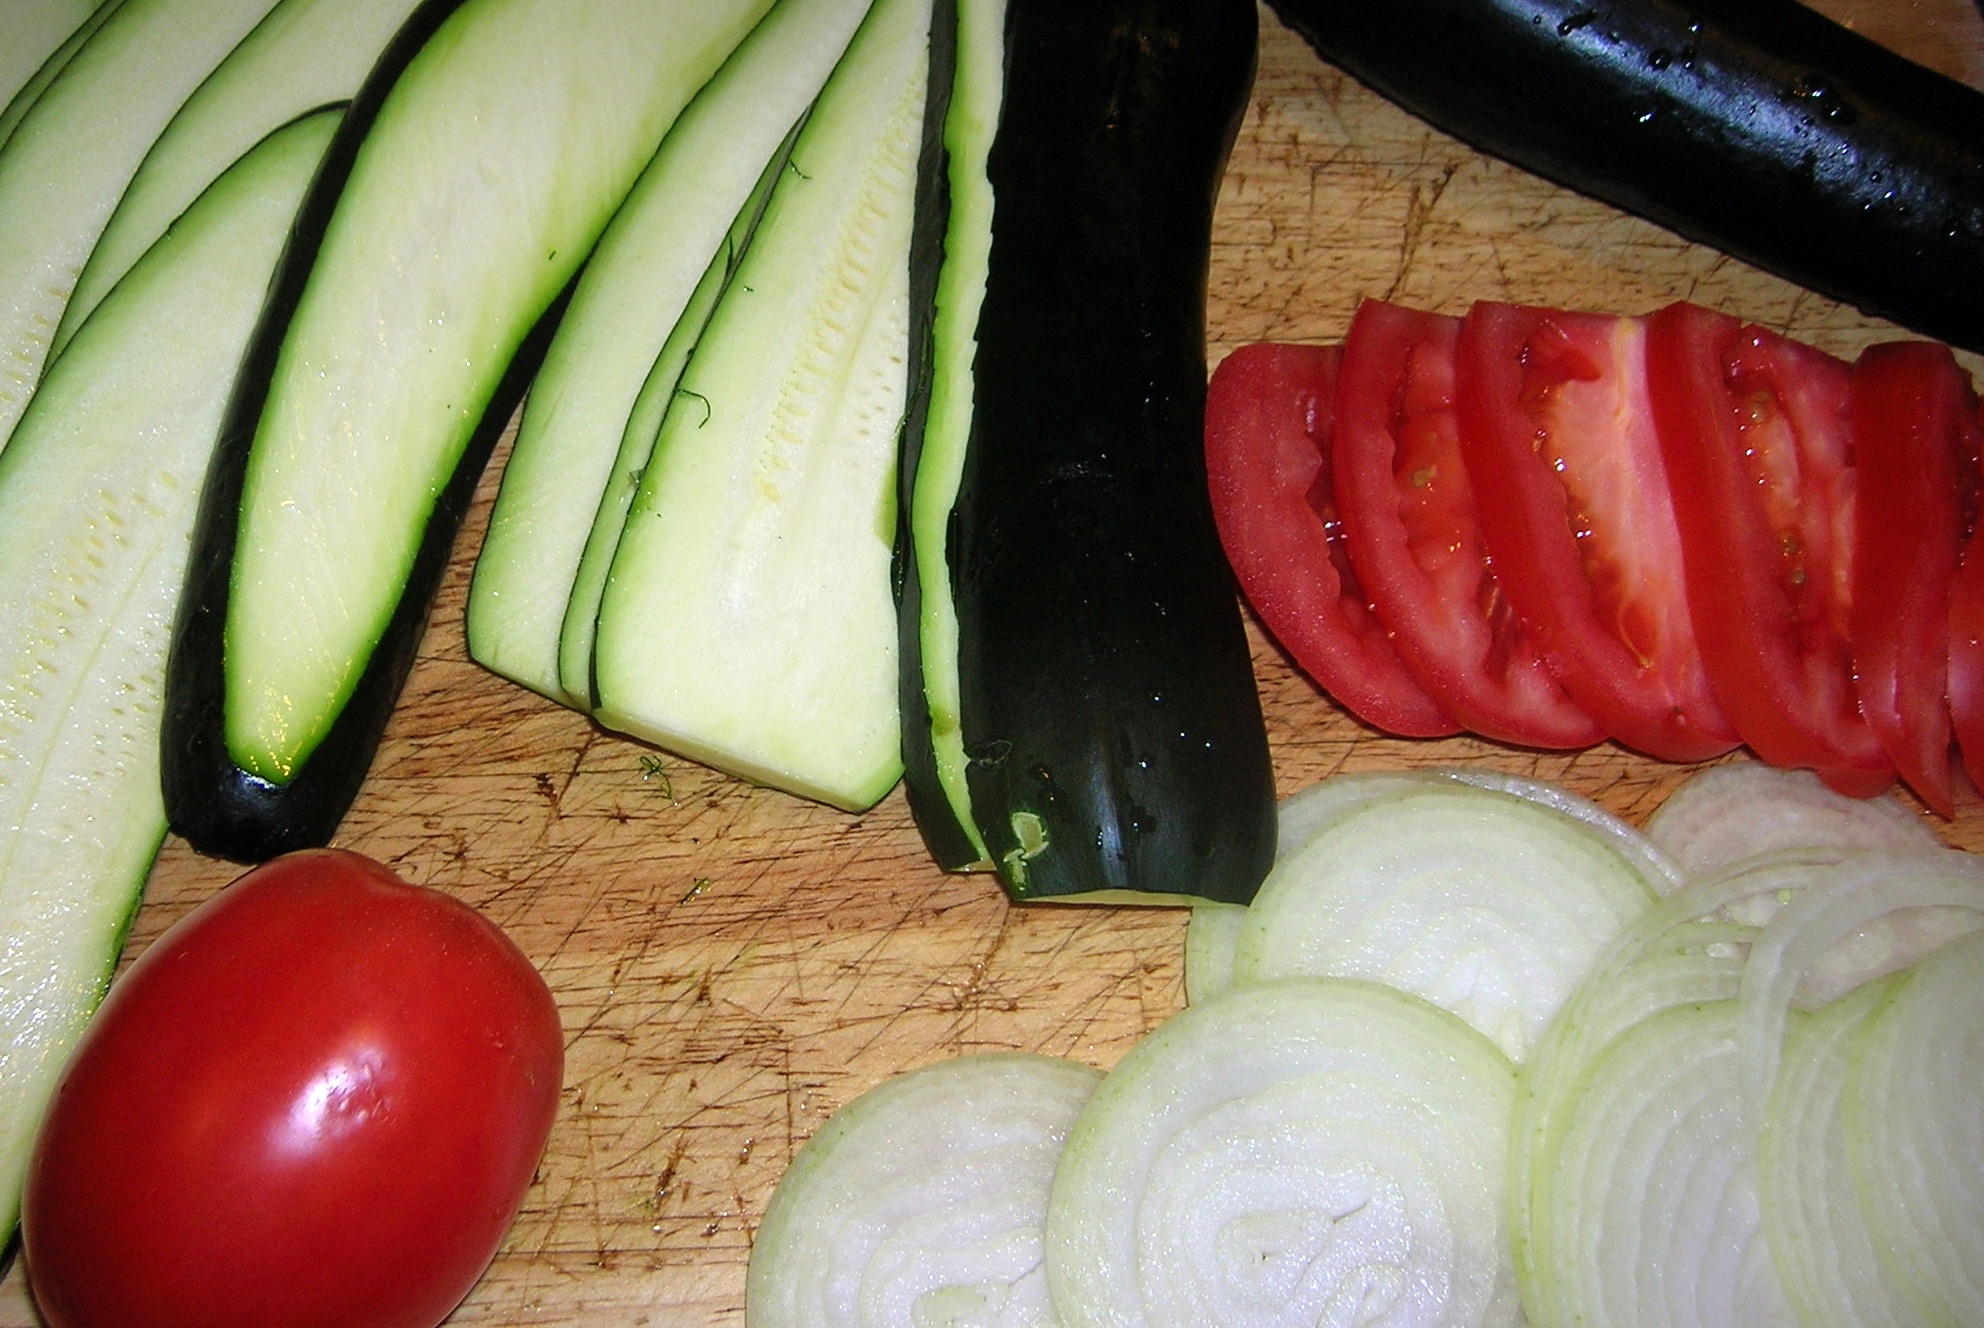
- 1 medium eggplant sliced in 1/4 inch rounds
- oil for frying
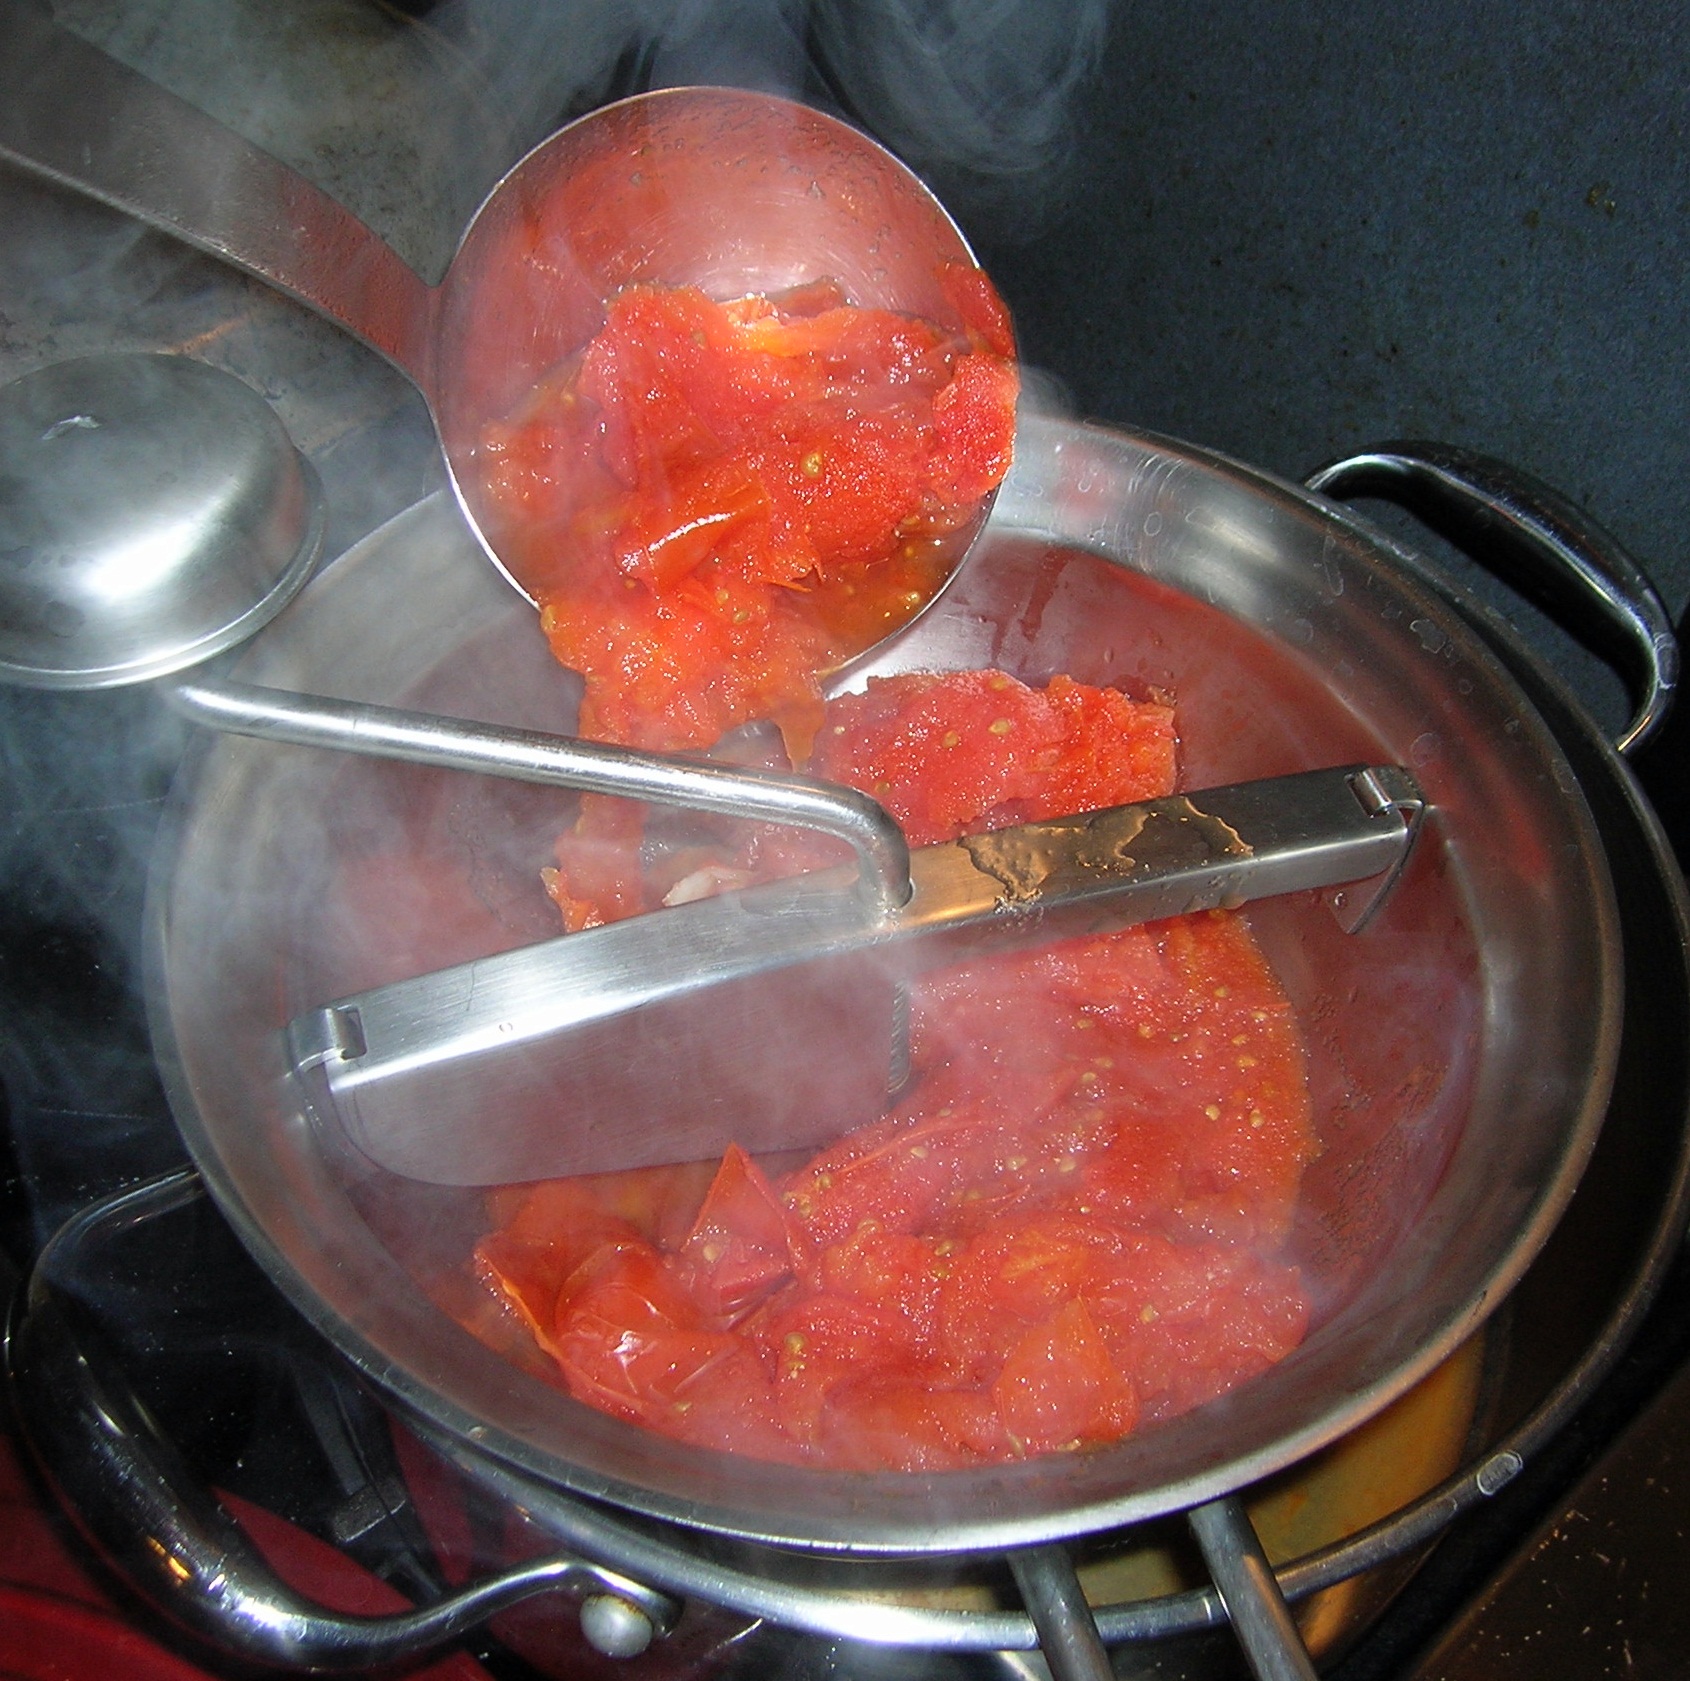
- 1 28 ounce can of San Marzano tomatoes, passed through a food mill OXO Good Grips Food Mill or mashed with a potato masher
(Kuhn Rikon Potato Masher) - 1 cloves of garlic, chopped
- 4 tablespoons of olive oil
- 6 fresh basil leaves, torn
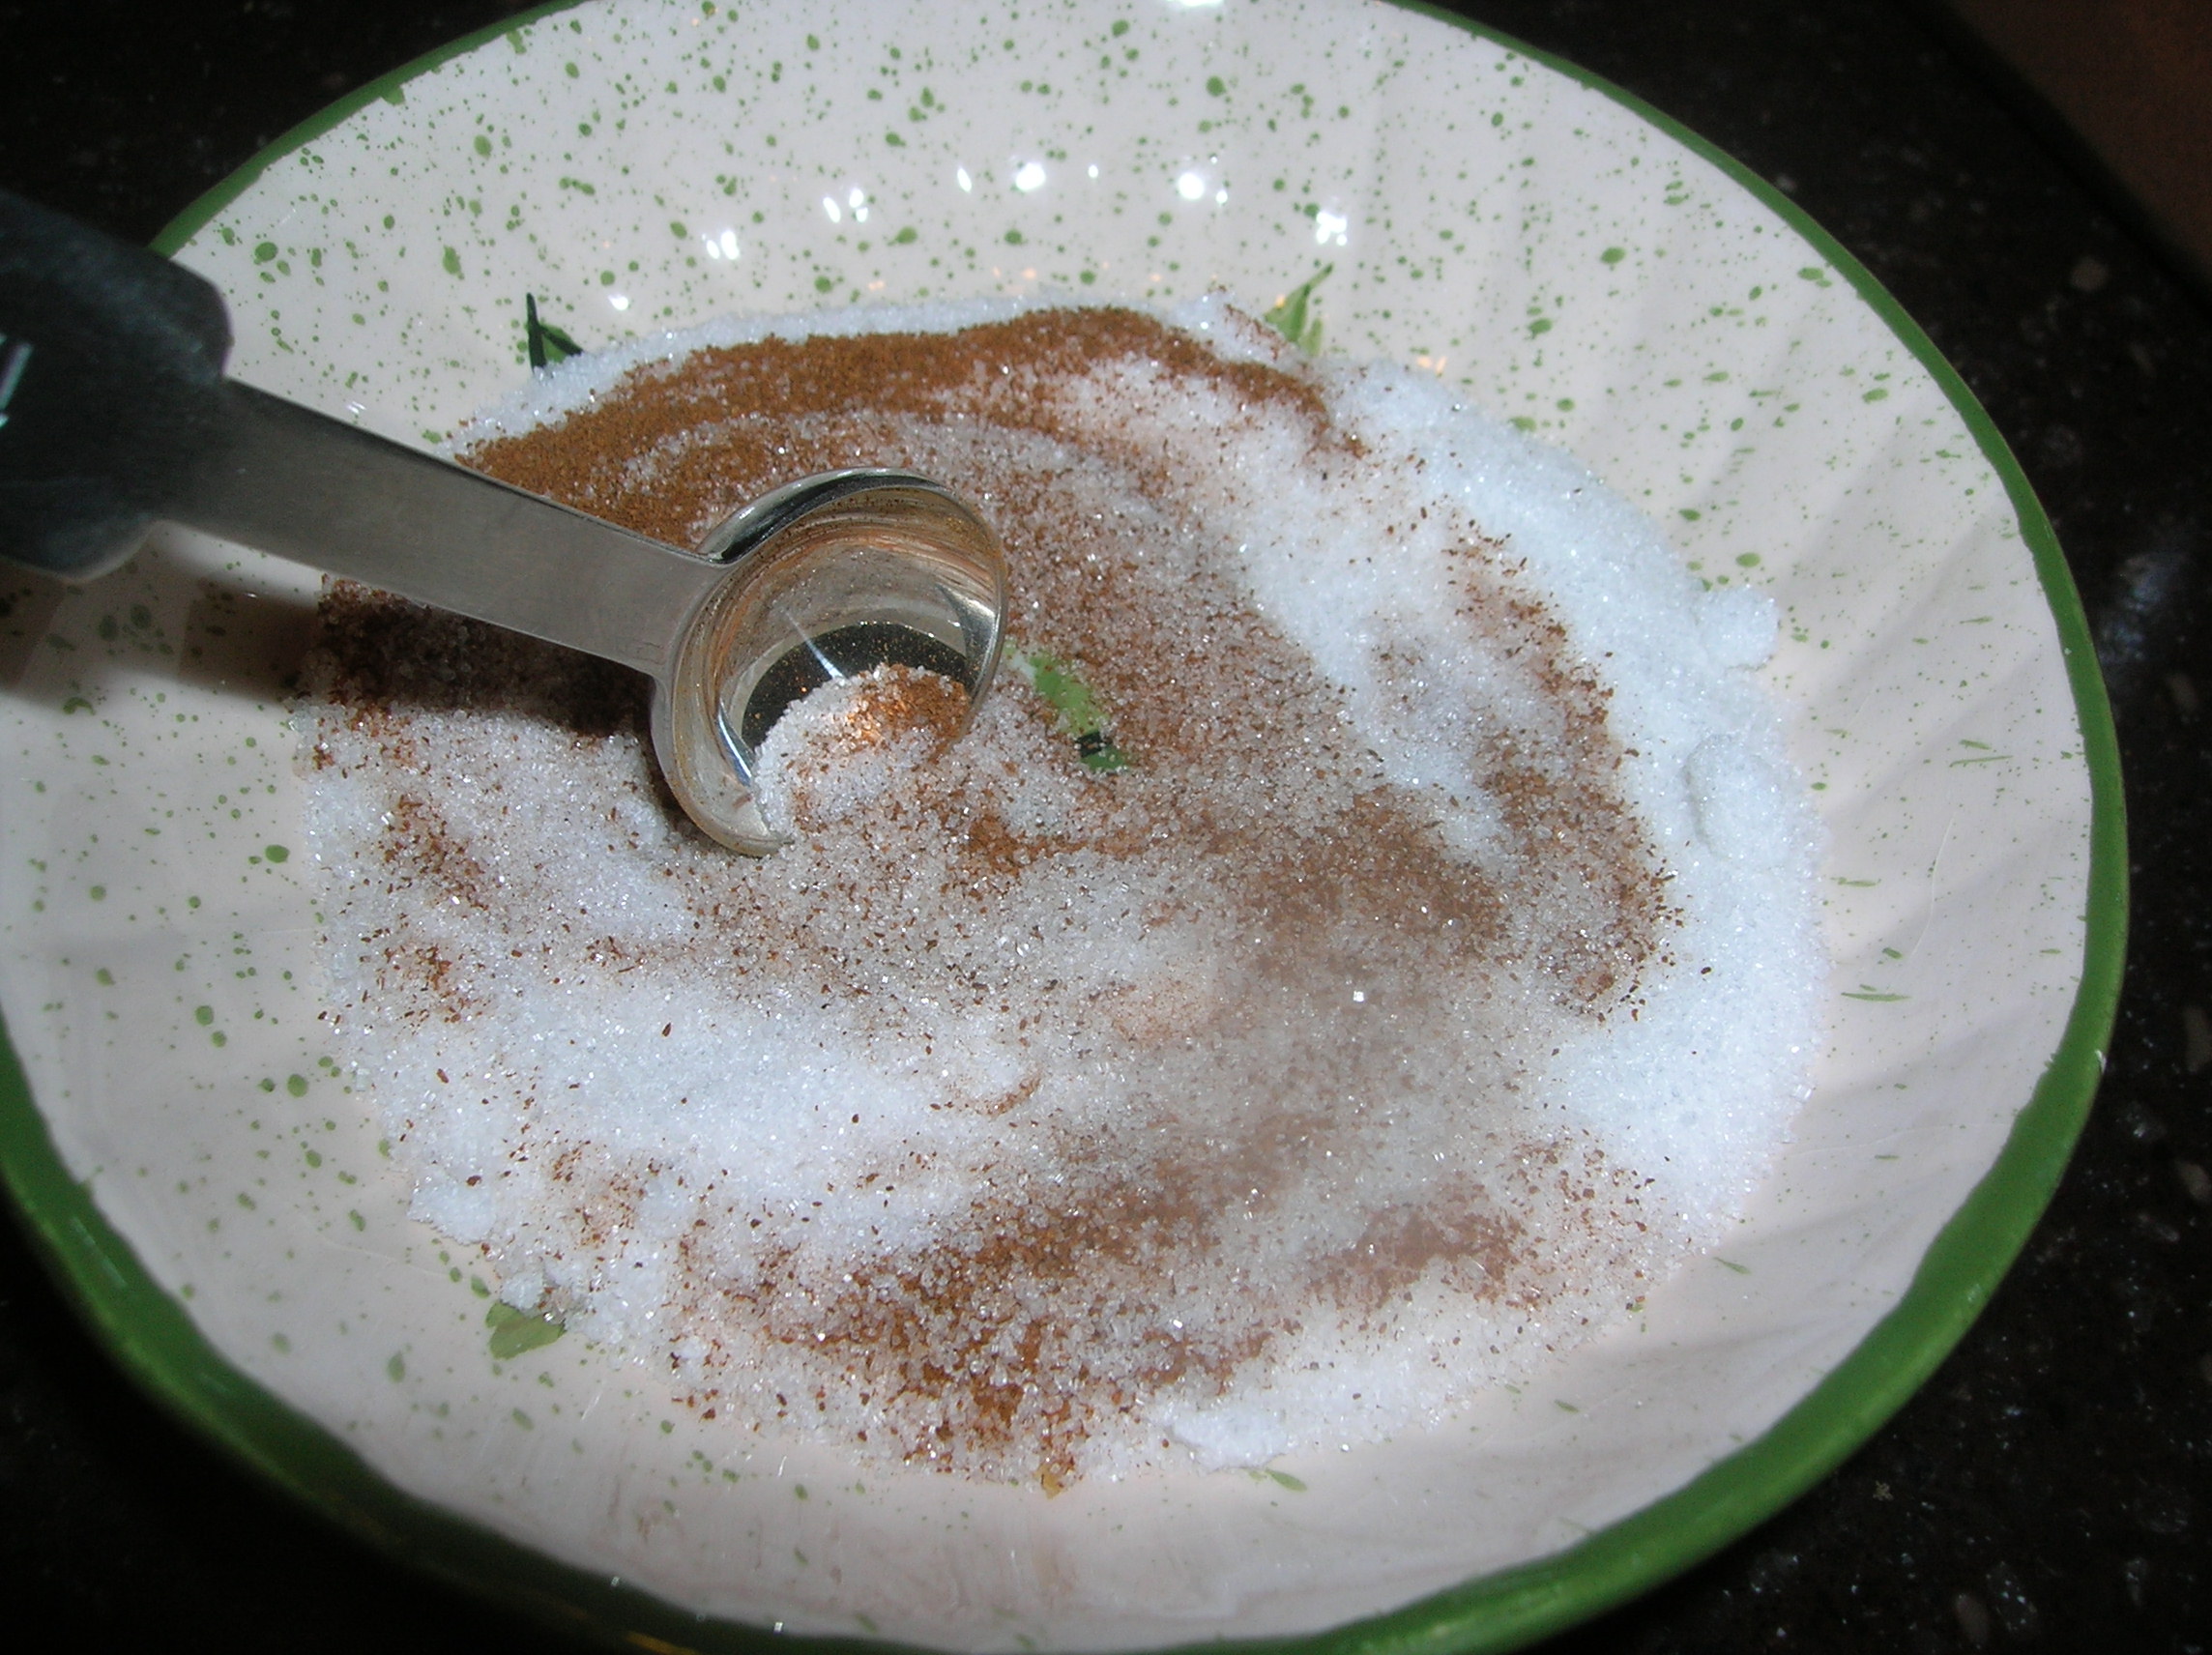
- 1/2 -1 teaspoon of sugar
- salt and pepper to taste
- 1 pound of macaroni, ziti rigati or rigatoni

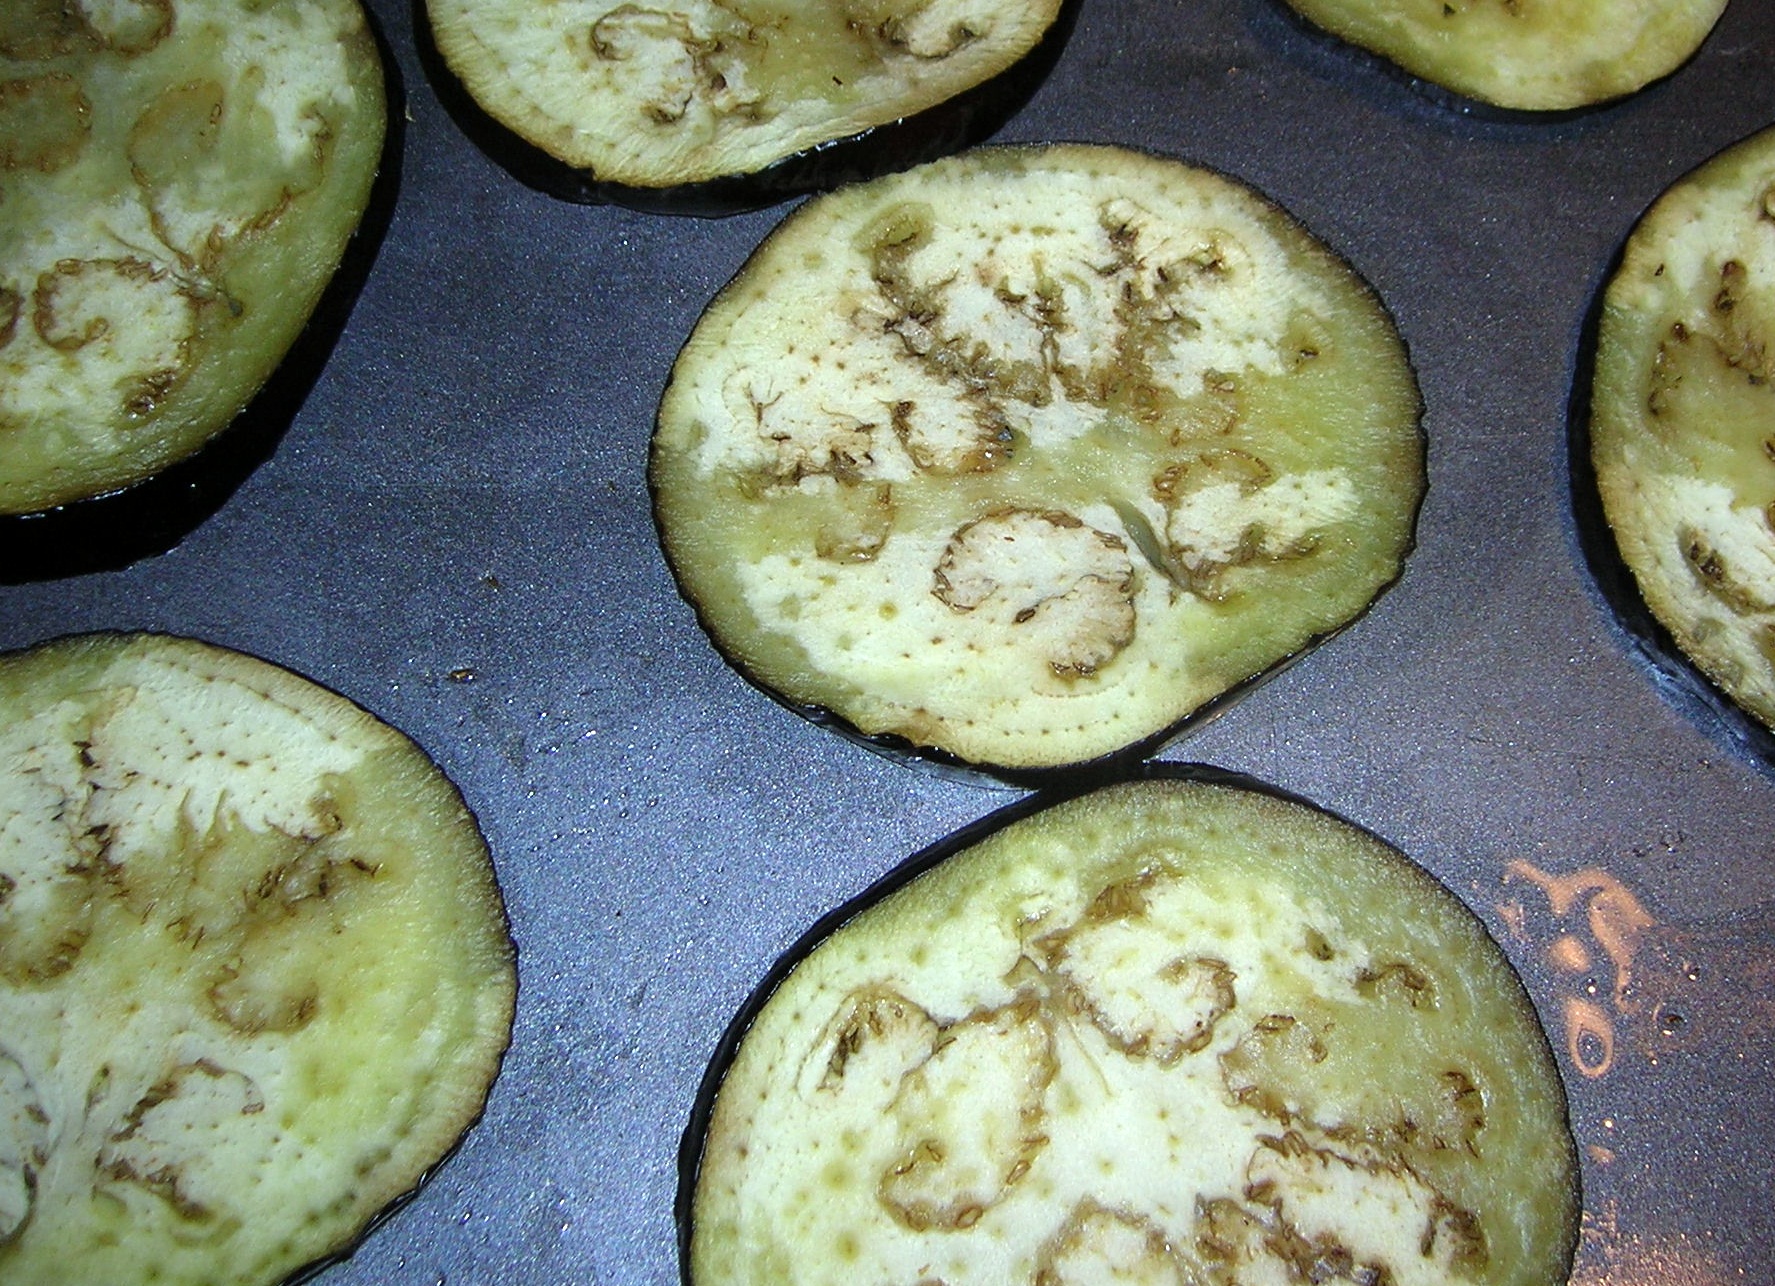
Place the sliced eggplant , with the skin on, in a colander and sprinkle each layer with kosher salt. Put a plate on top of the eggplant with a heavy weight on top and allow to sit for at least an hour.

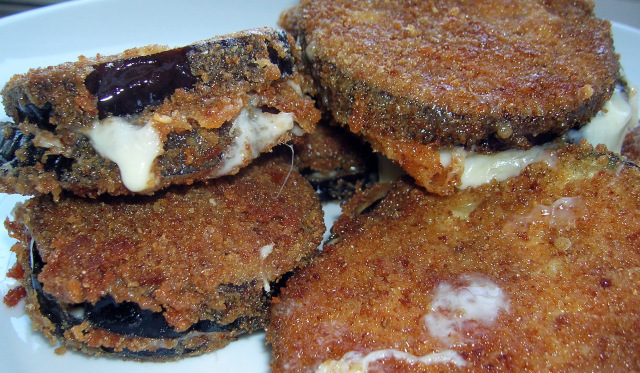
Pat the eggplant dry with a paper towel and heat a large pan with an inch of canola or vegetable oil. When the oil is hot, fry the eggplant till each side is golden brown. Place the fried eggplant in a plate lined with a paper towel to absorb the oil and set aside.

In a large sauce pan, heat 4 tablespoons of olive oil. Add the chopped garlic and cook till the garlic starts to turn golden. Add the tomatoes, sugar, salt and pepper and let the sauce simmer for about 15-20 minutes, or until the sauce thickens. The longer you cook the sauce the more flavor develops. Make sure you stir often when it thickens so you don’t burn the sauce. Taste for seasoning once the sauce is finished.
In the mean time, in a large pot boil 5 quarts of water. Add the macaroni and cook till al dente.
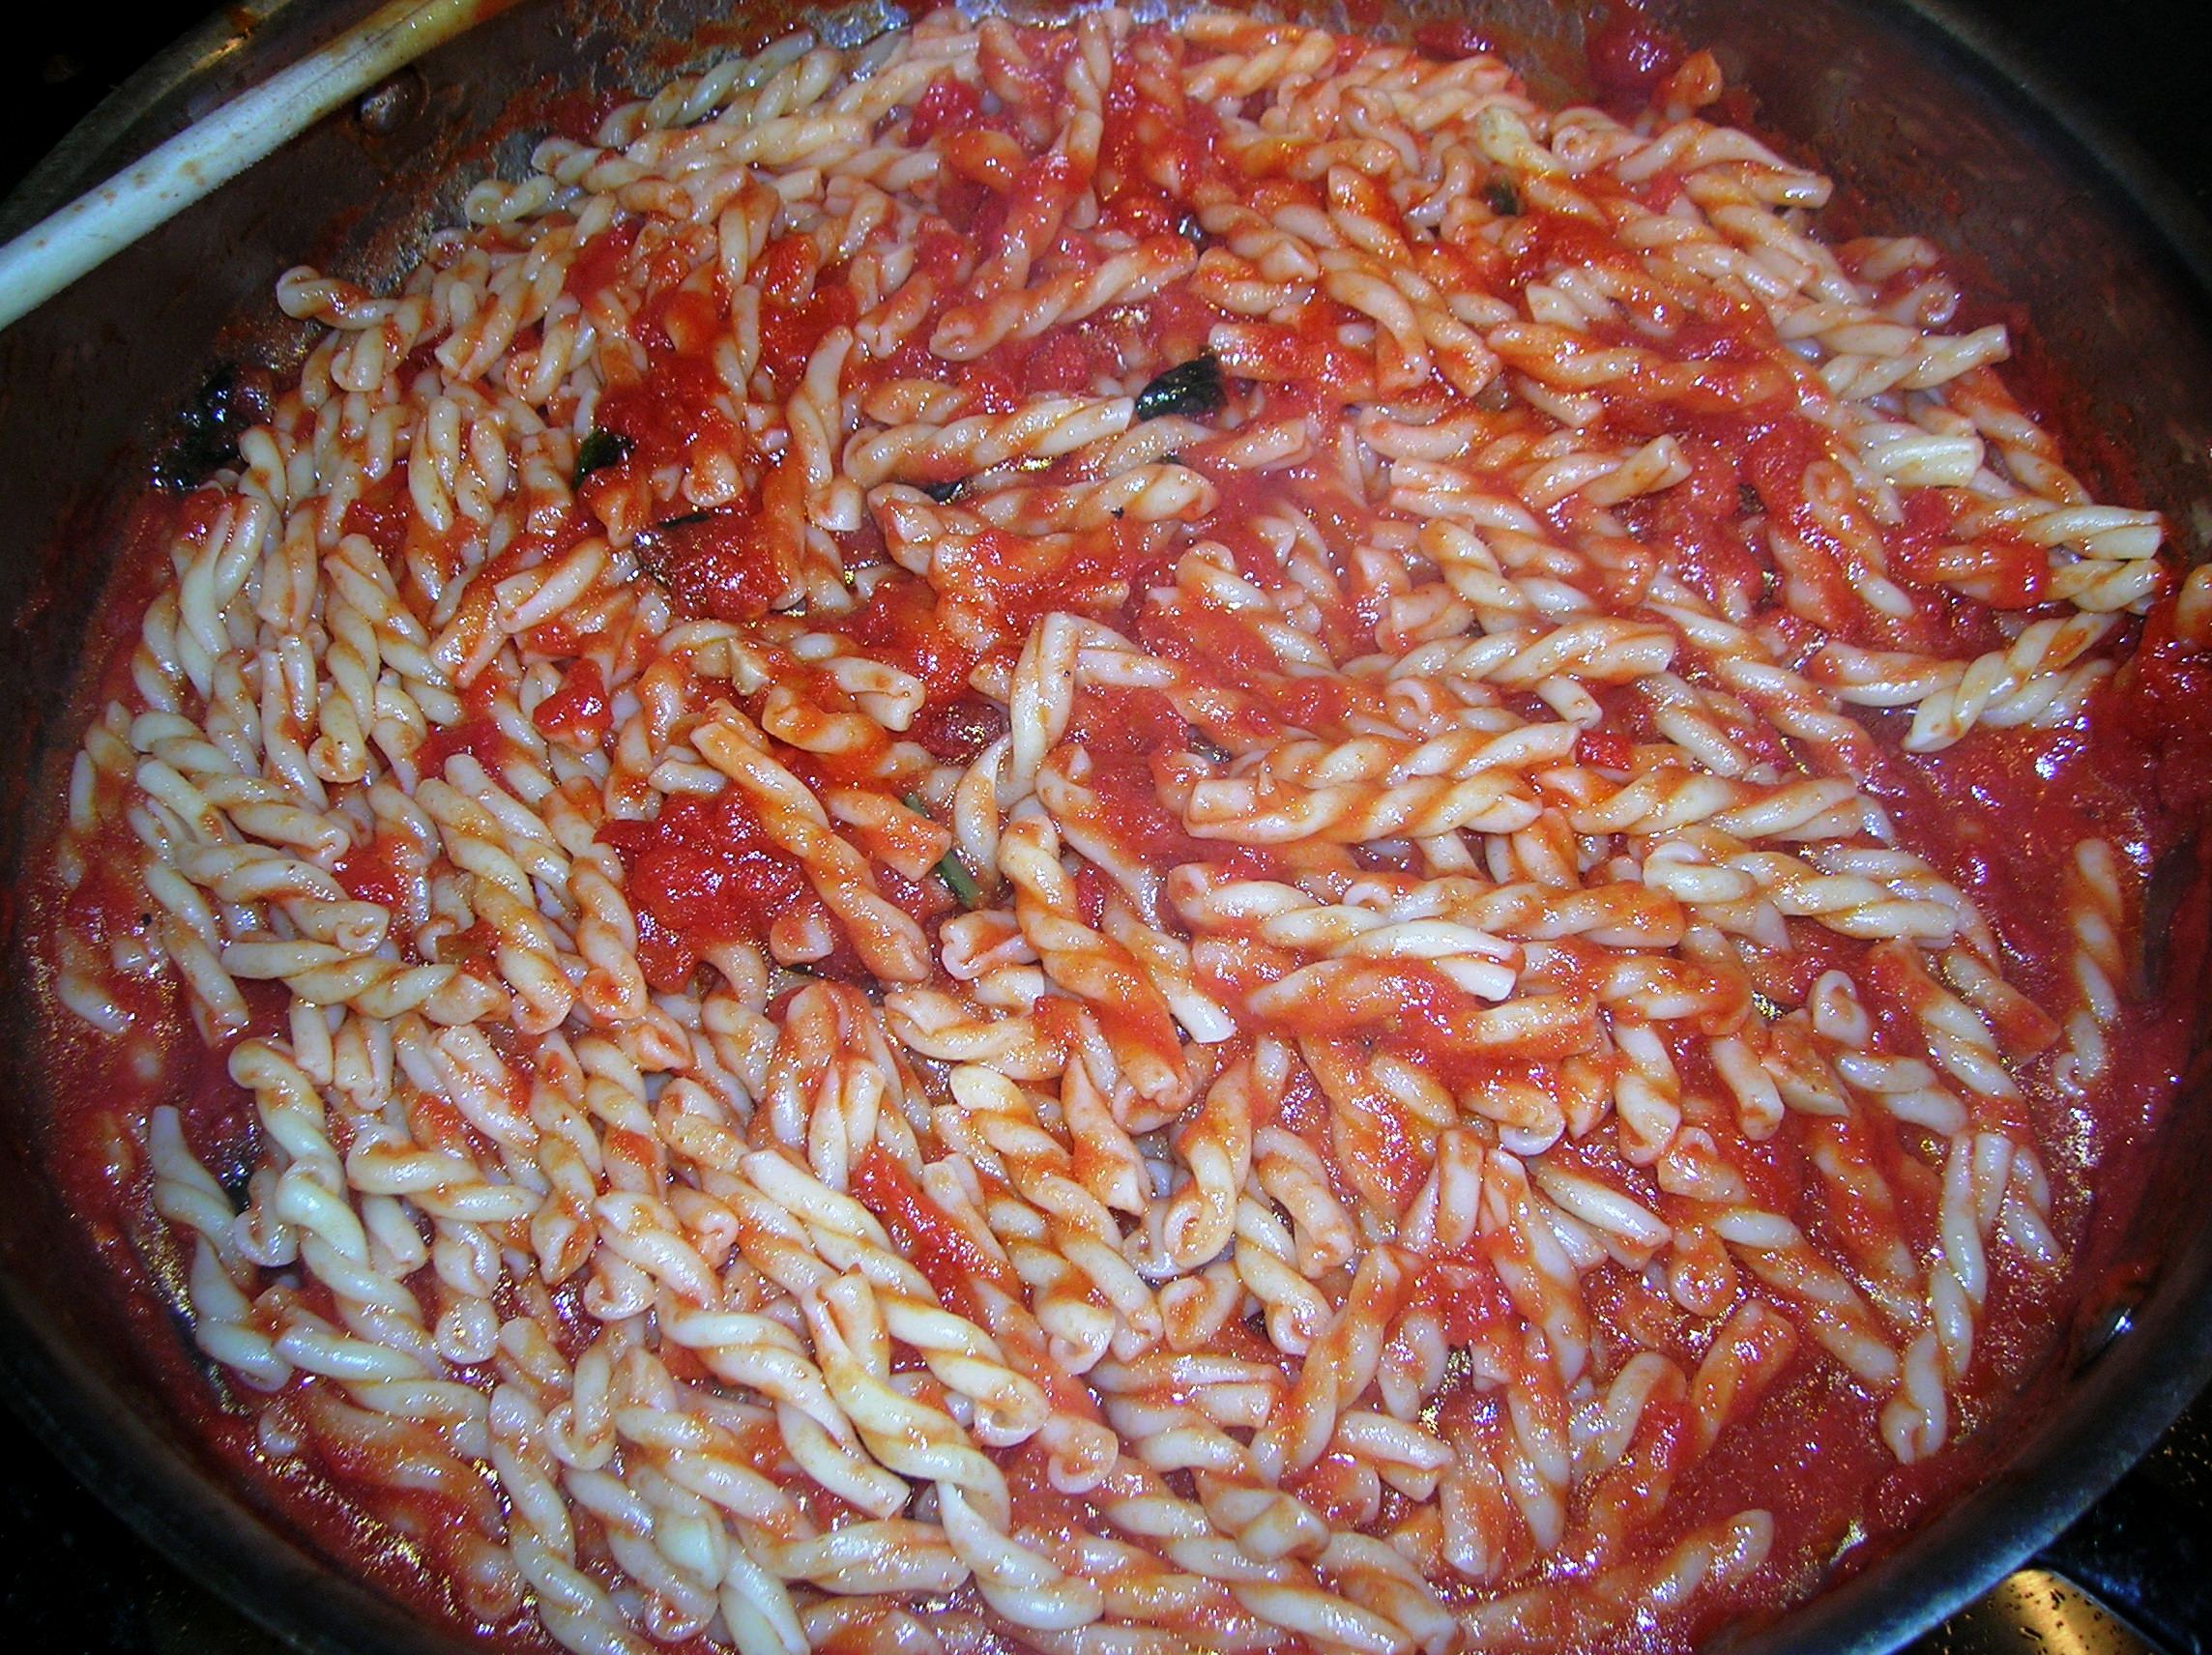
When the sauce is cooked turn off the heat and add the torn basil leaves. Drain the pasta and add it to the pan with the tomato sauce. Toss the pasta to coat it well. Place the macaroni in a bowl and top it with two slices of the fried eggplant. Sprinkle plenty of grated cheese on top and enjoy.

(adsbygoogle = window.adsbygoogle || []).push({});