There are a lot of things in this world that can harm us. Unfortunately, one of those things is our food industry. I’m not going to lecture anyone on what you should eat or not. We all have freedom to choose our own lifestyles. But we should be all aware of the obesity problem we have in our society and the increase of diabetes and chronic diseases. I made a choice a while ago to avoid at all cost consuming refined sugar, simple carbohydrates in our bread and cereals, highly processed seed and vegetable oils, all soda and sports drinks and fruit juices, just to name a few. I stick to foods with one ingredient like grass fed beef, pork, lamb, pastured chicken, all vegetables and fruits, healthy fats such as cold pressed extra virgin olive oil, avocado oil, butter from grass fed cows, whole raw milk, pastured eggs. I avoid the center aisles of the supermarket and stay away from processed and prepared foods. That’s not to say once in a while I won’t enjoy a vanilla ice cream cone in the summer or a plate of pasta for a meal. But it has become the exception not the rule. Following this change in diet and lifestyle, since 2018 I lost over 65 pounds and recently taken off my diabetes medication and I’m working on stopping my high blood pressure medication as well. Of course, all this has been done under a doctor’s supervision.
So one of the changes I’ve made is to stay away from store bought bread and started making my own sourdough bread every week. If you check the ingredients of a loaf of sliced bread at the supermarket you will find dozens of ingredients that are bad for you, mainly white bleached flour, high fructose corn syrup, preservatives and dough conditioners unhealthy vegetable and seed oils and other things I can’t even pronounce.

There are healthier breads on the market than Wonder Bread, but their ingredient content is not much better.
So, what goes into my sourdough bread? Organic unbleached bread flour, 100% whole wheat flour, filtered water, sea salt, olive oil, honey and sourdough starter. That’s it. Sourdough relies on a mix of wild yeast and lactic acid bacteria, rather than baker’s yeast, to leaven the dough. It’s richer in nutrients, less likely to spike your blood sugar, contains lower amounts of gluten, and is generally easier to digest than bread made with baker’s yeast. So in essence, sourdough bread is a fermented food. Lactic acid bacteria are also naturally found in several other fermented foods, including yogurt, kefir, pickles, sauerkraut, and kimchi. Starters with high levels of acetic acid bacteria also take longer to ferment and rise, giving sourdough bread its characteristic texture and taste. It’s a longer process but well worth the results.

I’ve had this starter for many years.
The first thing you need is the sourdough starter. I’ve had mine for over 25 years. Talk about renewables! Once you have a starter it will last you a lifetime. The process is quite simple. In a clean glass jar ( I use a quart size wide mouth Bell jar with the seal and rim) mix 2 cups of unbleached organic flour (preferably flour that is not enriched with synthetic vitamins) with2 cups of filtered or spring water (no chlorine in the water). Leave the mixture on your countertop loosely covered for 24 hours. The next day after stirring the mixture discard one cup of the starter and add another cup of flour and filtered water and mix well. Do this every 24 hours until you see some bubbling activity. You should see something happening in about 3-4 days, it could take up to 7 days. You will notice a yeasty smell and bubbles forming in the batter. At that point mark the level of the batter with a rubberband around the jar. When the starter rises a few inches over the rubber band or reaches the top of the jar after feeding within the 24 hours you now have an active sourdough starter. You can now use this starter to make bread, pancakes, waffles, etc. The starter should resemble a consistency of pancake batter. Add more or less flour to achieve that.

After feeding my starter it becomes active and starts to expand in the jar. The rubber band allows me to see how much it expanded. It’s ready to use.
After you make your bread and you replace the starter you took out with equal amounts of flour and water, you can loosely cover the jar and allow to rise. Then you can place it in the refrigerator until you are ready to make another loaf. The day before you make your bread, take the starter out of the refrigerator and discard a cup of starter and replace it with the cup of water and flour and this will help reactivate your starter for your next loaf you will be making the following day.
No Knead Sourdough Bread
My version of King Arthur’s baking recipe
- 1 cup (227g) ripe fed sourdough starter
- 1 3/4 cups (397g) filtered water, lukewarm
- 120g whole wheat flour
- 482g organic unbleached bread flour
- 1 tablespoon Celtic salt or sea salt
- 1 tablespoon olive oil
- 1 tablespoon natural raw honey

This is what the dough looks like after mixing.
Combine all the ingredients in a large mixing bowl. I use a Pyrex bowl with the cover. Mix everything together with a big spoon or dough whisk to make a sticky, rough dough.

One hour rise.
Leave the dough in the bowl, cover it with the lid or a piece of plastic wrap and let it rise for 1 hour. I place my bowl in the oven with the oven light on and that creates the perfect temperature for the dough to rise, unless your kitchen is over 75 degrees.

After wetting your hands, grab the dough and lift up to stretch.

Fold the dough over itself.
Take the bowl out and with wet hands gently pick up the dough and fold it over on itself several times, turning the bowl a quarter turn to get all four sides. Cover the bowl again, and let it rise for another hour.

This is what the dough looks like after 3 hours of resting and stretching.
Repeat the rising-folding process one more time (for a total of 3 hours), folding it again after the last hour. Then place the bowl covered in the refrigerator, and let the dough rest for at least 8, up to 48 hours. The longer it ferments in the refrigerator the more sourdough taste your bread will have.

After 18 hours in the refrigerator the dough is relaxed and expanded.
Roll the dough between both your hands, pulling down and under. This will strengthen the dough. Notice the air pockets already developed in the dough.
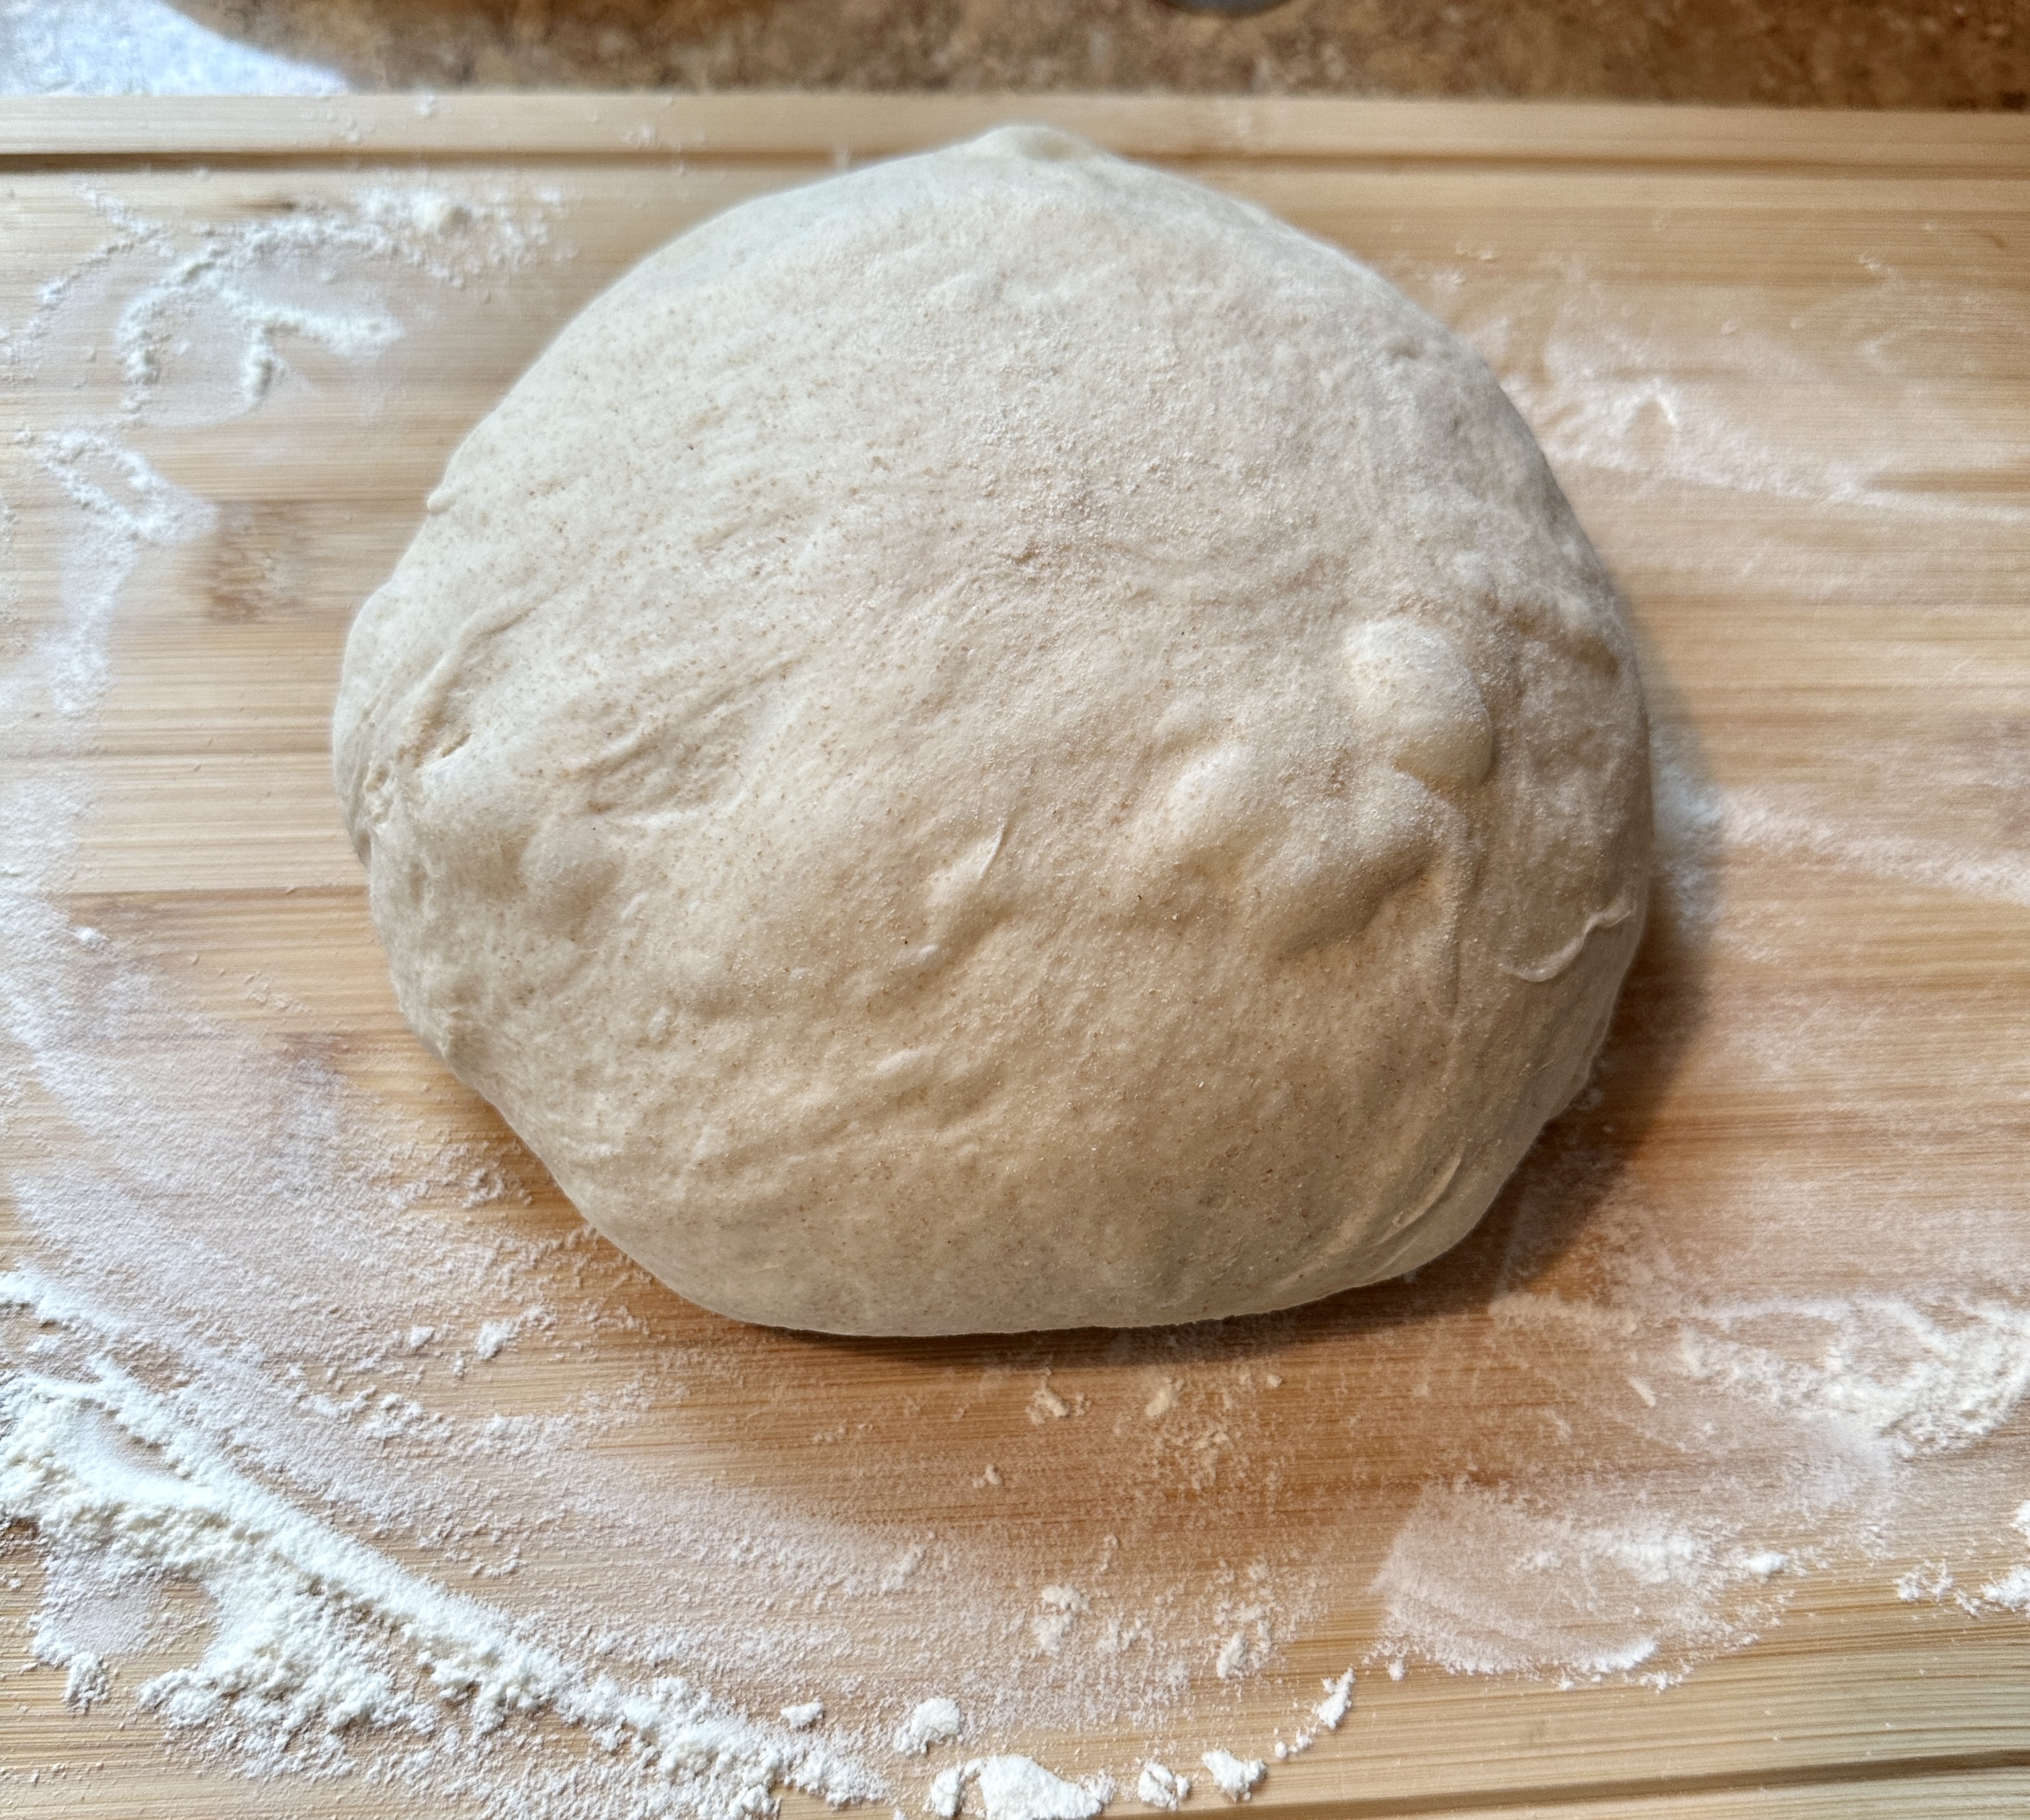
When you are ready to make bread, turn the dough out onto a well-floured work surface, and shape it into a rough ball. Leave the dough seam side up, cover it and let it rest on the floured surface for 15 minutes.

Gently roll the dough with your hands to fit the size of the loaf pan
Next, shape the dough to fit the vessel in which you’ll bake it. I use a 13″ x 4″ pullman loaf pan made by USA Pan Bakeware. It gives me the perfect size for sliced bread. You can also use a large round boule or Dutch oven for a round rustic loaf. Place the shaped dough into the lightly greased base of the baker and cover it with a towel or lid. Let the loaf warm to room temperature and rise, this should take 3 hours. It won’t appear to rise upwards that much, but will relax and expand. Again, I place it in my oven with the oven light on to keep it at the perfect proofing temperature.
With the rack positioned in the middle, start preheating the oven to 500 degrees F about a half hour before you’re ready to bake. Obviously, take the rising baker and dough out of the oven while you preheat it and place it on the counter. (Did I really need to tell you that?)

Just before baking dust the loaf with a fine coat of flour and use a sharp knife to make one or several 1/2″ deep slashes through its top surface. If you’re baking a long loaf, one arched slash down the loaf lengthwise is nice, or if baking a round, a crosshatch or crisscross pattern works well.
Cover the baker with its lid and place in the oven. If you’re using the long Pullman pan leave the lid off. Reduce the oven temperature to 450 degrees F and bake the bread for 45 minutes for the Pullman loaf. If you’re using a dutch oven remove the lid after the 45 minutes and bake the bread for 10 to 15 minutes longer, until the bread is deep golden brown and crusty.

Remove the bread from the oven and transfer it from the pan to a rack to cool completely, about 3 hours.
Store the leftover bread in a plastic bag at room temperature for several days, freeze for longer storage. I slice the bread as I use it. After 7 days I preslice the rest and place in the freezer until I need it. It toasts up real well but don’t expect the golden brown toast you get from the store bought bread. It doesn’t have enough sugar and sweeteners in it to brown that way.

This is the way bread was meant to be eaten. Cut a slice of warm sourdough and spread on some butter and slow down a bit. Life goes by too quickly, take a moment and enjoy it.
