
I have been playing around with sourdough again. I was doing it for years and then I lost my sourdough culture after Superstorm Sandy. I lost my power for two weeks and whatever I had in my refrigerator was gone. I wasn’t in the frame of mind to save anything, other than the essentials, milk, eggs, etc. No power, no water, no heat. I was just trying to get through day by day. It was at that point I stopped making sourdough.
A couple of weeks ago my son Joseph mentioned some of the best bread he ever ate was my sourdough bread. He planted the seed. I had to start from scratch. If you never had sourdough bread you have missed the way bread was made for thousands of years. The ancient Egyptians used wild yeast to ferment alcoholic beverages and leaven bread over 5,000 years ago. It wasn’t till the 1860’s and the invention of the microscope did scientist isolate these tiny organisms as yeast. Once they did that they were able to select pure strands of yeast and started to use them in commercial baking. It was a boom for bakers, they were able to produce bread in record time. Only problem was they bypassed the fermentation stages of bread making and lost the amazing taste that came with it. Wild yeast takes much longer to leaven bread than modern commercial yeast. When the dough sits for 8-16 hours many other things happen. Real sour dough is probiotic, like yogurt. So not only is it better for you, but the taste is unequaled. The lactic acid that is produced during the fermenting period gives the sour dough that tang. I’m not going to get into all the health benefits. Let’s just say the Roman soldiers and Yukon miners all lived off of sourdough bread. It gave them all the protein and nutrients they needed. Sourdough also breaks down the gluten in the grain resulting in bread that gluten sensitive people can eat.
To get myself started, I took a plastic pint container and added a cup of purified water (you don’t want any chlorine or other chemicals in the water) or bottled spring water and added that to the container along with a half cup of bread flour and half cup of whole wheat flour. I mixed it all together well. I left the container on my window sill with the cover placed loosely on top for 24 hours. The next day the “batter” looked just like flour and water. No activity yet. It takes 4-6 days before you see the bubbles of any active wild yeast. I discarded 1/2 cup of the batter and mixed in another 1/2 cup of water and 1 cup of bread flour. I placed it back on the window sill and let it sit for another 24 hours. After the second day there still was no activity. I repeated the procedure the third day, empty 1/2 cup of batter and add in 1/2 cup water and 1 cup of flour. By the fourth day I began to see bubbles in the mixture. The wild yeast from the air and flour started growing. If you smell it at this point is has a yeasty smell. I continued emptying a half cup of batter and adding a half cup of water and cup of flour for another three days. By now the starter was fully active. Within 4 to 6 hours of feeding it I was able to see the expansion of the culture. At this point I placed it all in a wide mouth quart Mason jar. This will be my sour dough cultures new home. Will will call this mixture “starter”.
If you left the starter out at room temperature you would have to feed it every 6 hours or so. It would get to the point where it would over flow the glass jar. Being we are not commercial bakers, we might only bake bread once a week. So you have to keep your starter in the refrigerator to slow down the process and “deactivate” the yeast. You need to take the starter out a day or two before your bread making in order to reactivate it. It’s quite simple to do. After the starter has been in the fridge for a week, take it out, stir it up well and empty out and discard a 1/2 cup of starter. Add 1/2 cup of warm water and 1 cup of flour. Stir well and leave at room temperature. At this point you only want the jar 3/4 full. You need the extra space for it to expand without over flowing. NEVER TIGHTEN THE LID. JUST LOOSELY PLACE ON TOP. Other wise the jar could explode from the pressure of the gas released by the yeast. You will notice that within 6 hours or so the starter is expanding to the top of the jar. I keep the consistency of my starter like a really thick pancake batter, not too runny and not too stiff. You should be able to stand a spoon up in it. You can adjust by adding more or less water till you get to the consistency you want. If you leave the starter in the refrigerator for more than a week you will notice a dark liquid forming on the top. That’s fine. We call that “hooch” . It actually protects the yeast from bad bacteria forming. When you are ready to use it just stir it back into the starter and begin.
So, we begin with a starter that has been dormant for over a week. I take it out about a day before I want to make bread. Stir it up and discard at least a half a cup. I now place in 1/2 cup of warm water and stir it in good. I then add 1 cup of bread flour and stir it in well. I place the lid on loosely and leave it at room temperature for at least 6 hours. You should notice the starter growing. When it reaches the top of the lid it’s activated and ready to use. At this point whatever you use, replace with 1/2 cup of water and 1 cup of flour and leave on the counter to activate for about 4-6 hours before placing it back in the refrigerator and ready for your next loaf of bread. It’s not as complicated as it sounds. If you got the bug to make homemade bread the conventional way, using sourdough starter is just the next logical step. And once you start you will not want to make bread any other way. But remember, real bread making is a time-honored process. And the more time the bread sits, the better it will taste and the better it is for you.
I adapted a recipe I had to make basic white bread using my sourdough starter. This makes 2 loafs of the best tasting, superior toasting sandwich bread you ever had! I also use my KitchenAid stand mixer with the dough hook. 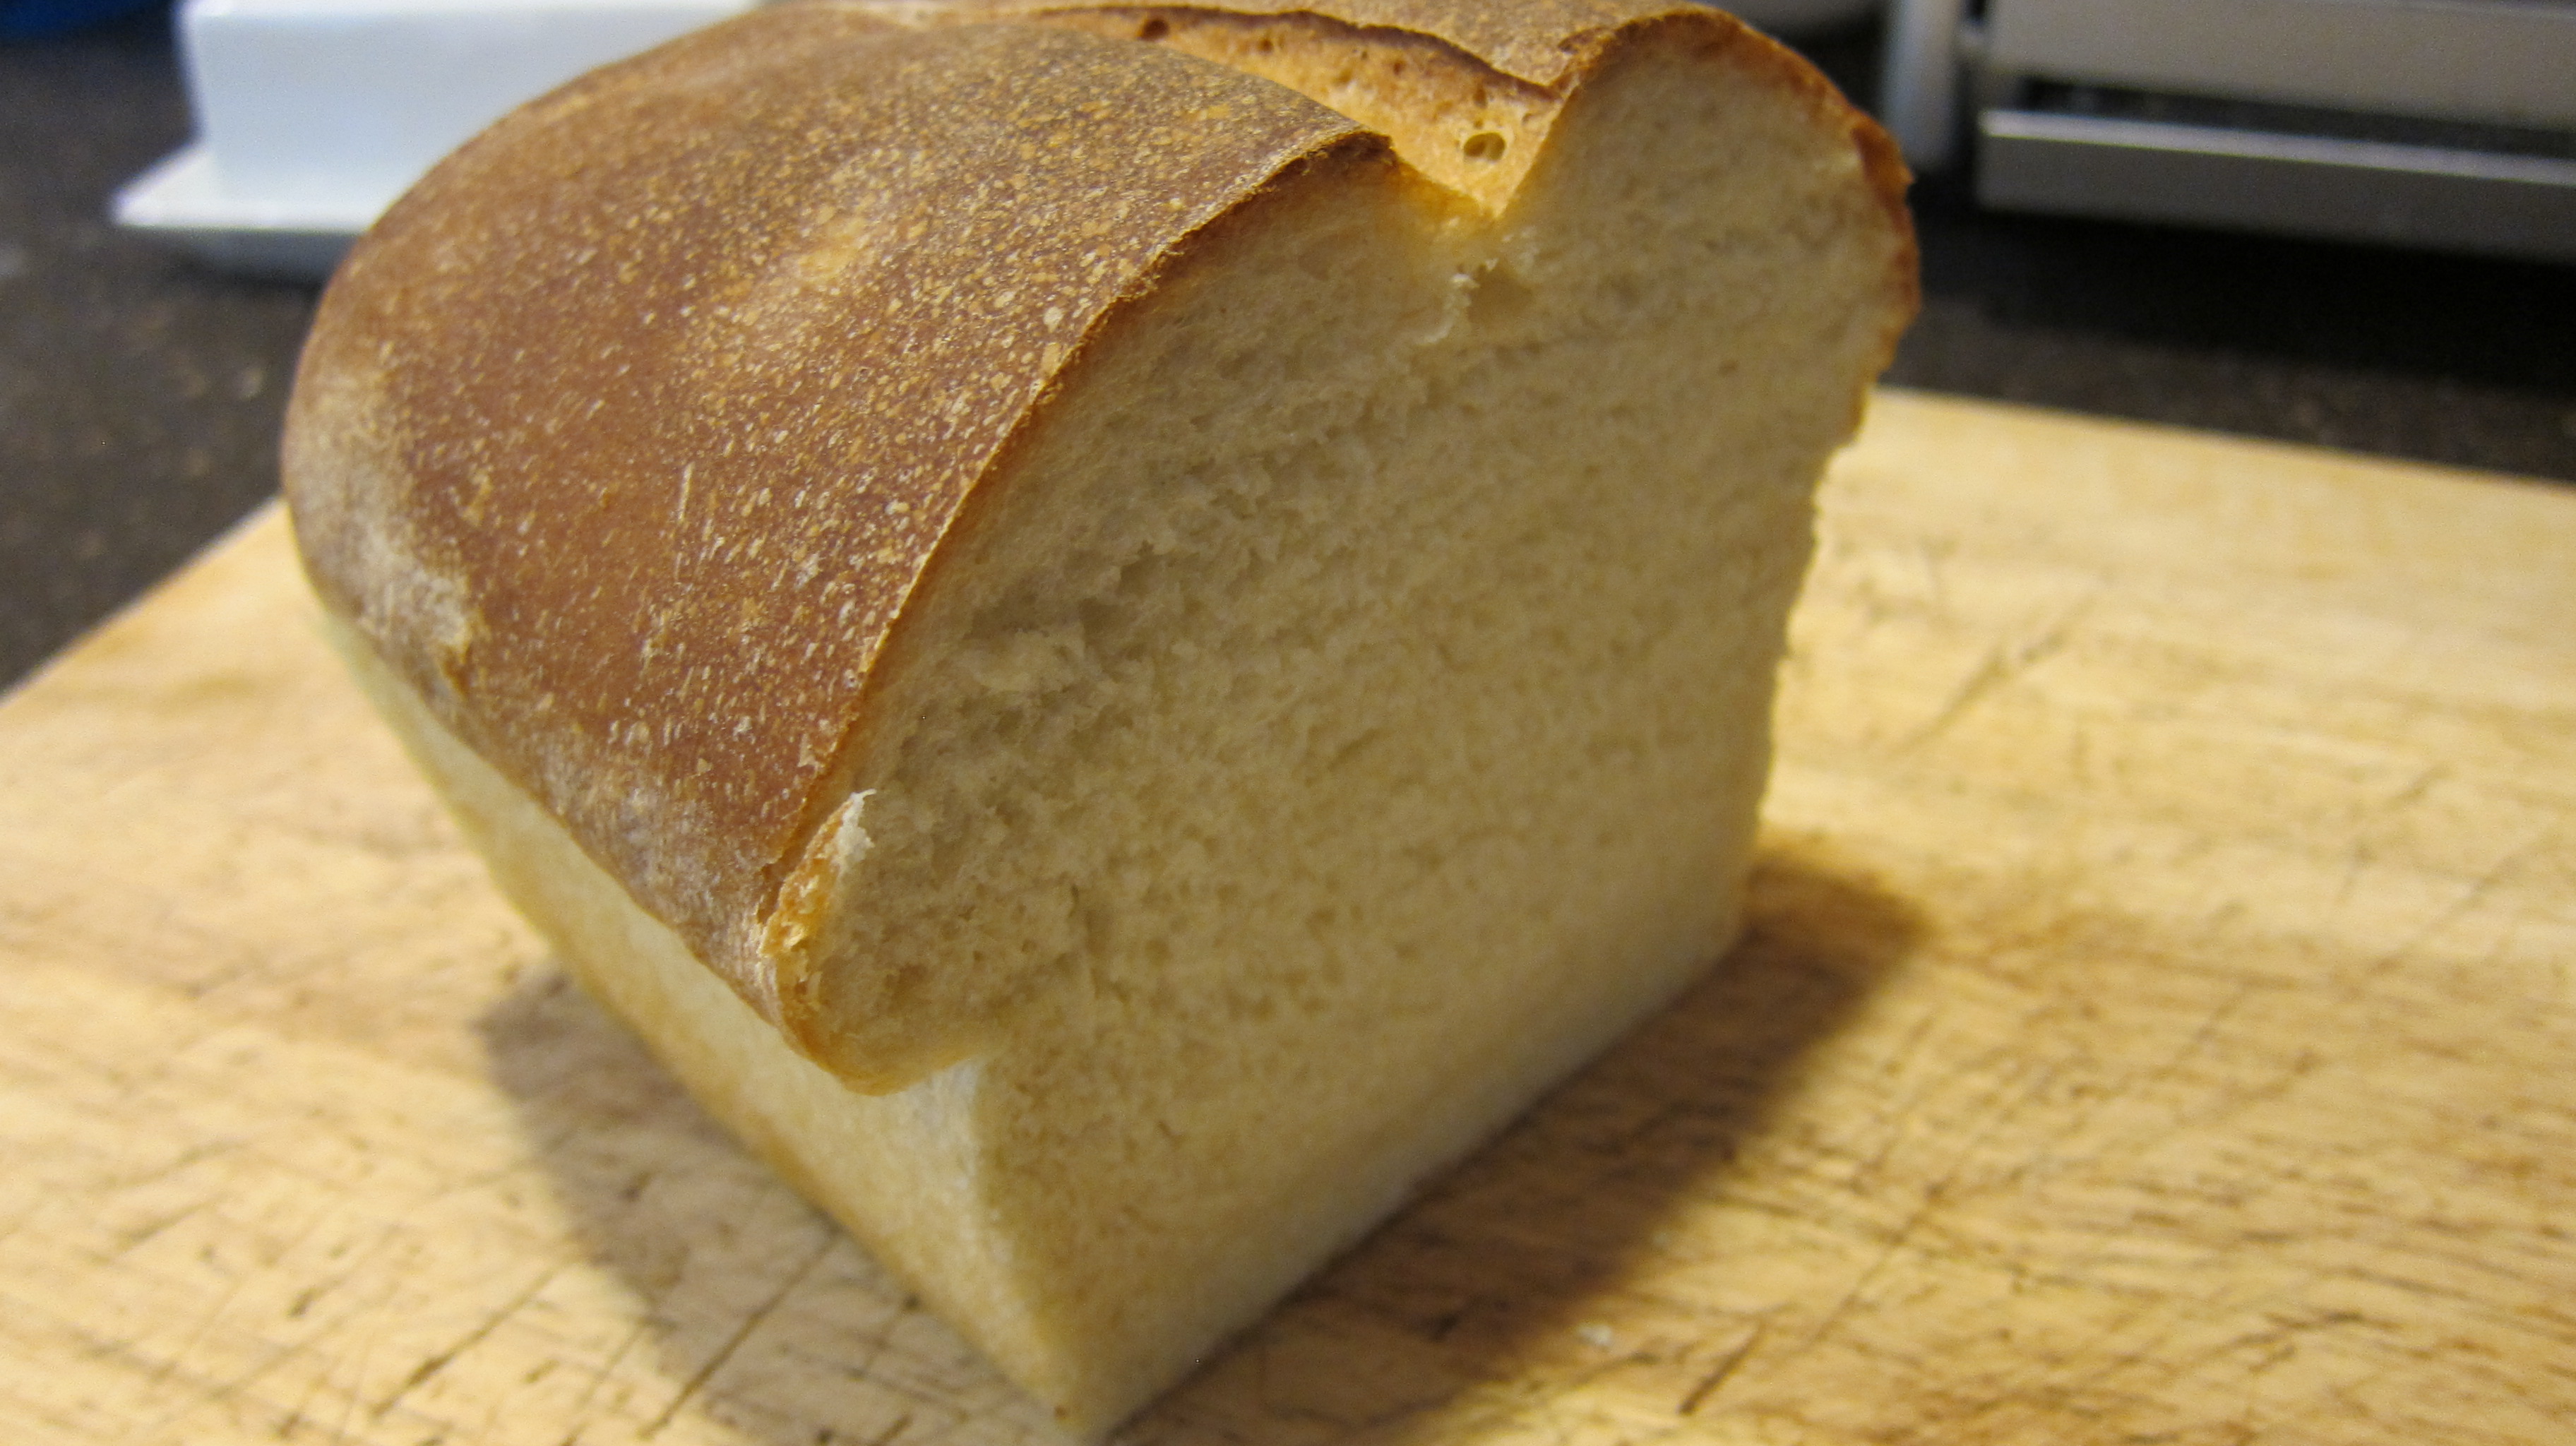
Basic Sourdough White Bread
- 1/2 cup fully activated Sourdough starter
- 1/2 cup whole milk
- 3 tablespoons sugar
- 2 teaspoons salt
- 3 tablespoons of unsalted butter (I use Kerrygold butter)
- 1 1/2 cups of warm water
- 5-6 cups bread flour
Place milk, sugar, salt and butter in a small saucepan and heat over low flame until the butter melts. Remove from the heat and cool to lukewarm. Place the 1/2 cup of sourdough starter in the mixing bowl. A tablespoon at a time, add flour and mix with a spoon until you have a firm dough that will keep its shape. The flour you use here is in addition to the 5-6 cups.
Add the cooled milk mixture along with the 1 1/2 cups of warm water and mix well dissolving the ball of starter. Place the bowl on the mixer with your dough hook. Add 4 1/2 cups of flour and turn it slowly up to speed 2 and mix for 1 minute. Continue on speed 2, add the remaining flour, 1/2 cup at a time and mix about 2 minutes, or until the dough clings to the hook and cleans the sides of the bowl. Knead on speed 2 about 2 minutes longer, or until the dough is smooth and elastic. Dough will be slightly sticky to the touch.
Place the dough in a greased bowl, turning to grease the top. Cover and let rise in a warm place for 6 hours, or until doubled in bulk. I found the best place to make the dough rise in a controlled environment is in my oven. I turn on the oven for about 20 seconds and then turn it off. I keep a thermometer in the oven with the dough to make sure the temperature is within 80-85 degrees F. This is the optimum temperature for the dough to rise in. Another trick to keep the oven at this temperature is to turn on the oven lights. The heat generated from the light will keep the temperature about 85 degrees. Just keep an eye on it so it doesn’t go above that.
Punch the dough down and divide in half. To make a loaf, on a lightly floured surface, roll each half into a rectangle approximately 9×14 inches. A rolling-pin will smooth dough and remove gas bubbles. Starting at the short end, roll dough tightly. Pinch dough to seal seam. Pinch ends and turn under. Place, seam side down in a greased loaf pan. Cover and let the dough rise in a warm place for at least 2 1/2 hours, or until doubled in bulk. Score the top with a serrated knife and bake at 400 degrees F for 30 minutes, or until golden brown. Remove from the pans immediately and cool on a wire racks for at least 30 minutes before cutting.
I will share my recipe for sourdough peasant bread on my next blog.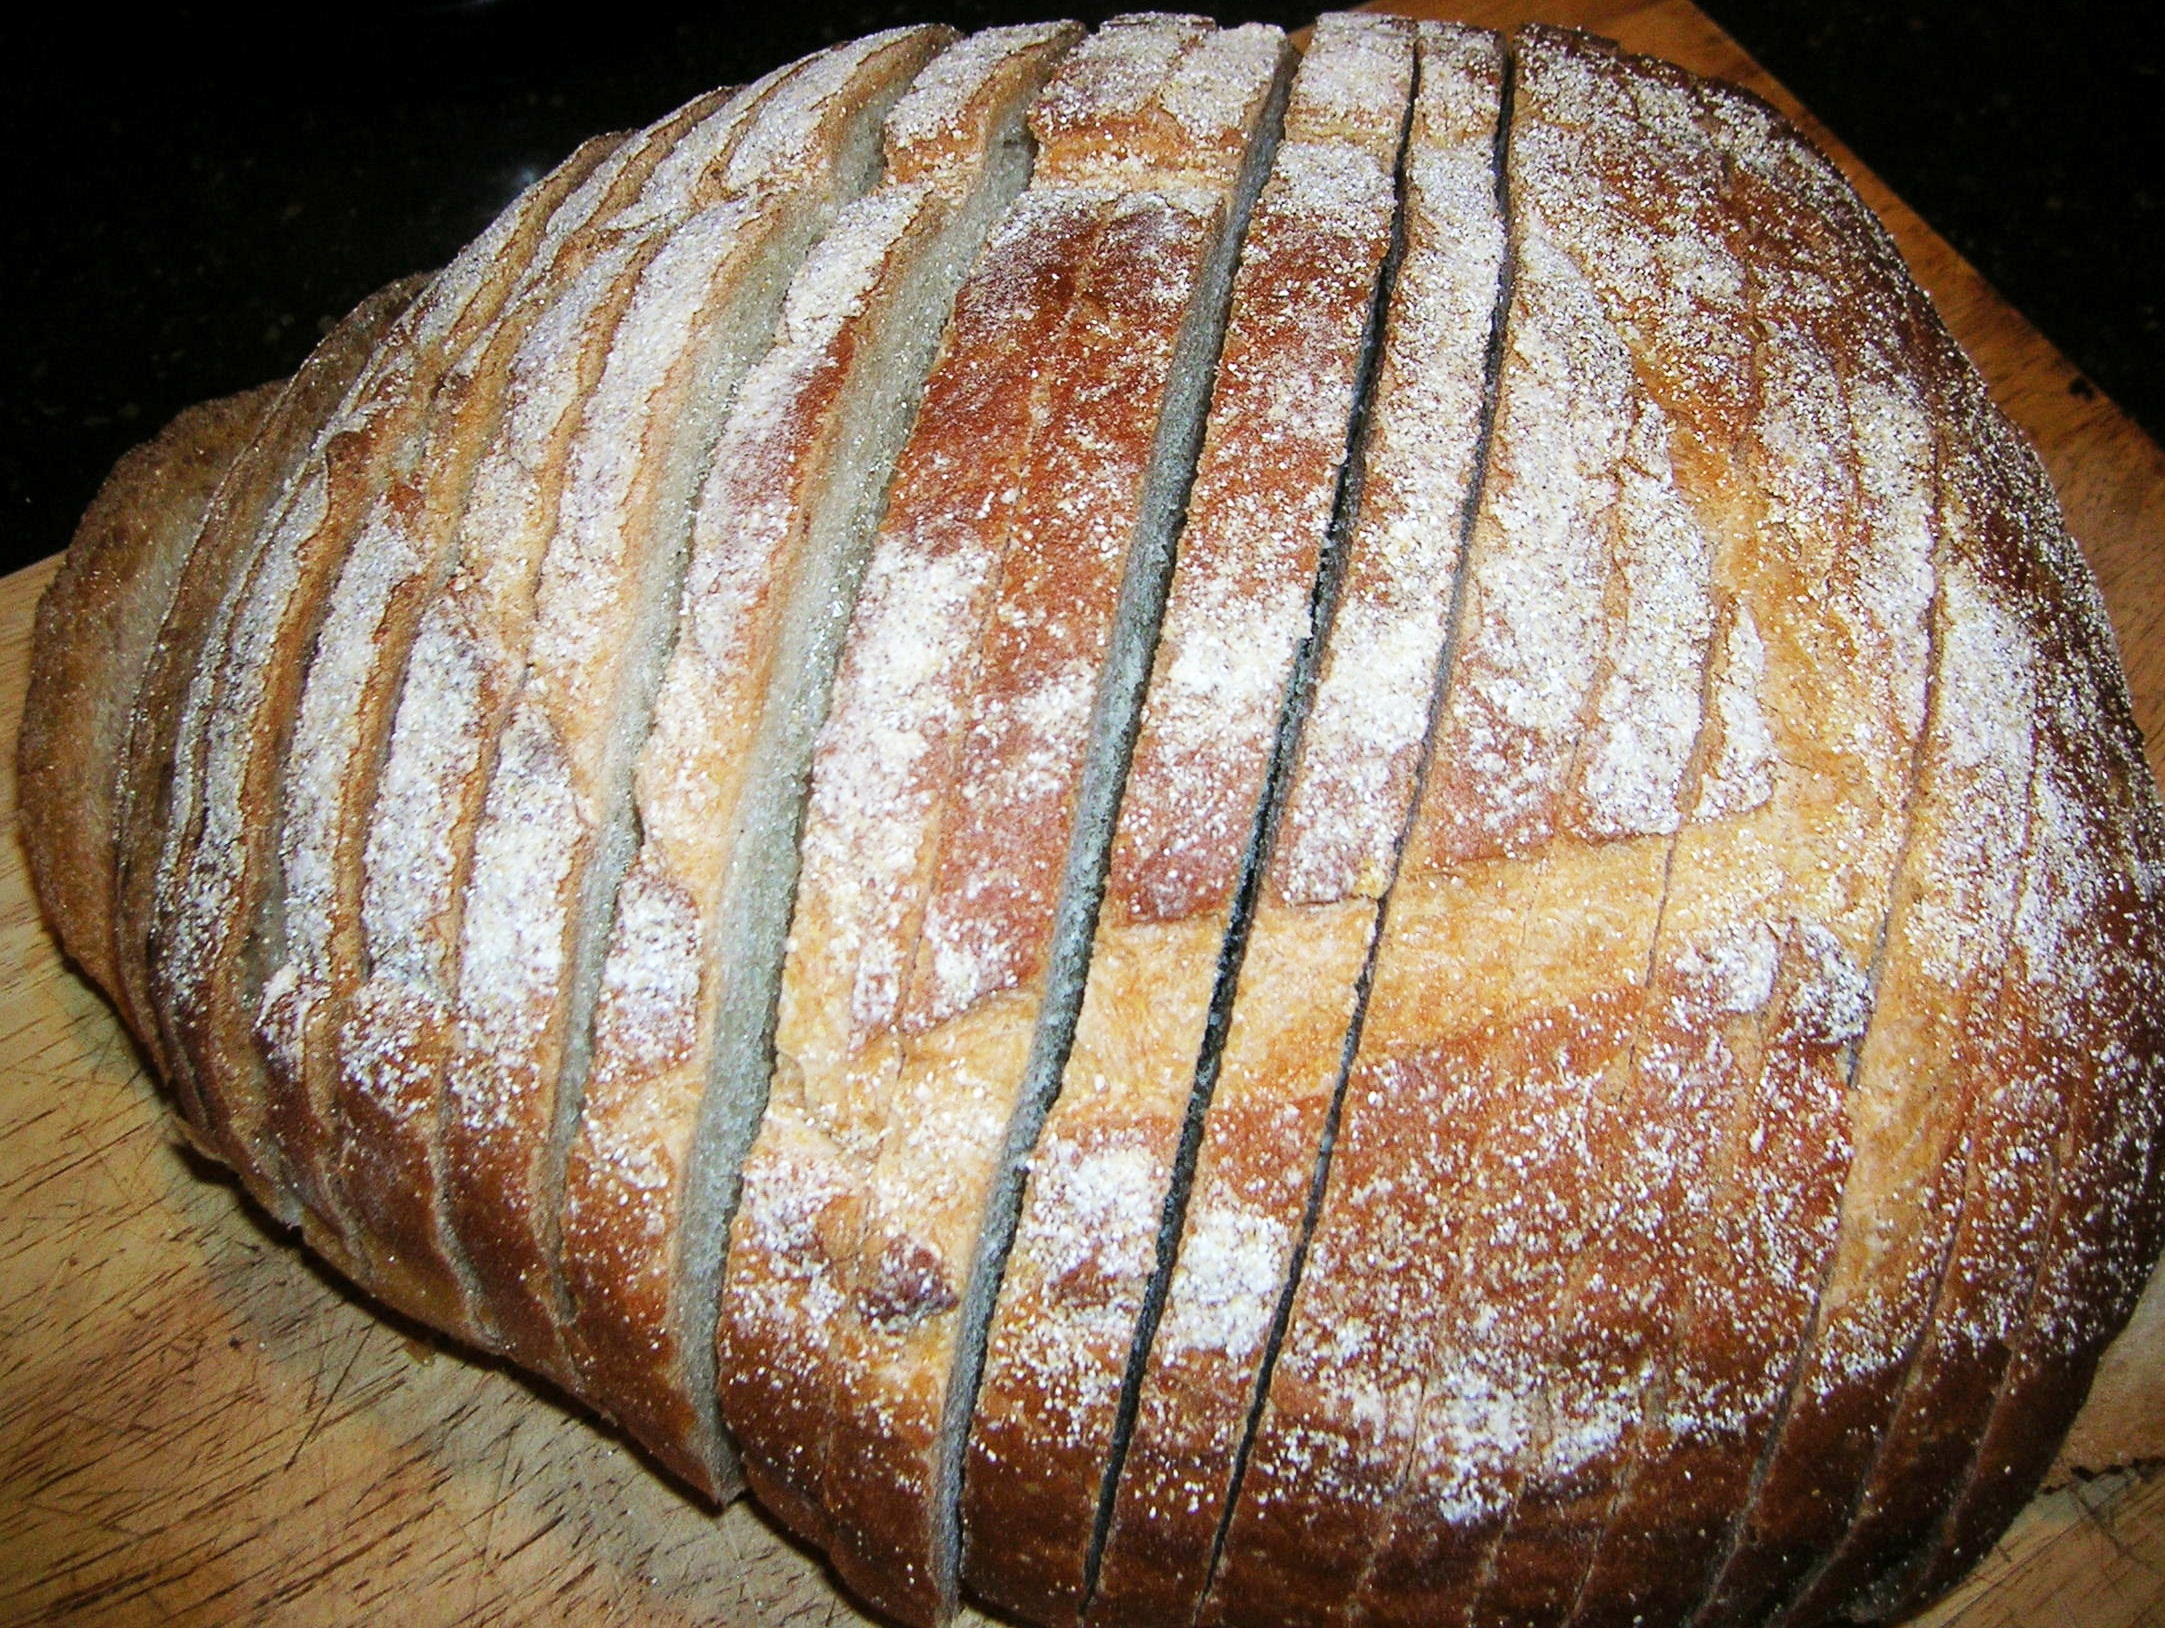

Labor intensive but worth the effort–the taste is fantastico!
Well you have inspired me to do this. I have not had a decent sour dough bread in years. I just mixed my flours and water and am on my way to starter. I look forward to your sourdough peasant bread recipe. In the meantime, onward to starter and white bread. Thanks for the inspiration.
Let me know how it works out Susan. Once you have an active starter the list is endless what you can do with it. Good luck.
Pingback: No Knead Rustic Sourdough Bread | cookingitaliancomfortfood
Pingback: Sourdough Pancakes | cookingitaliancomfortfood