My mother made a great pot roast. I’m sure most of you feel the same way about your mother’s pot roast. Then again, some of you may not. A friend of mine told me a story the other day about his new bride making her mother’s favorite pot roast. She would take a London broil (right there a disaster in the making) and pour a packet of Lipton’s onion soup mix over it and wrap it in a piece of foil and bake it for three hours. She bragged on how it was one of her mother’s favorite dishes. What came out was a stringy piece of overcooked meat. I’m happy to report this friend is still married to the same woman, and his wife, after about the third time making this family heirloom dish, has stopped making it. No matter how much he loved her, three times was even too much for him.
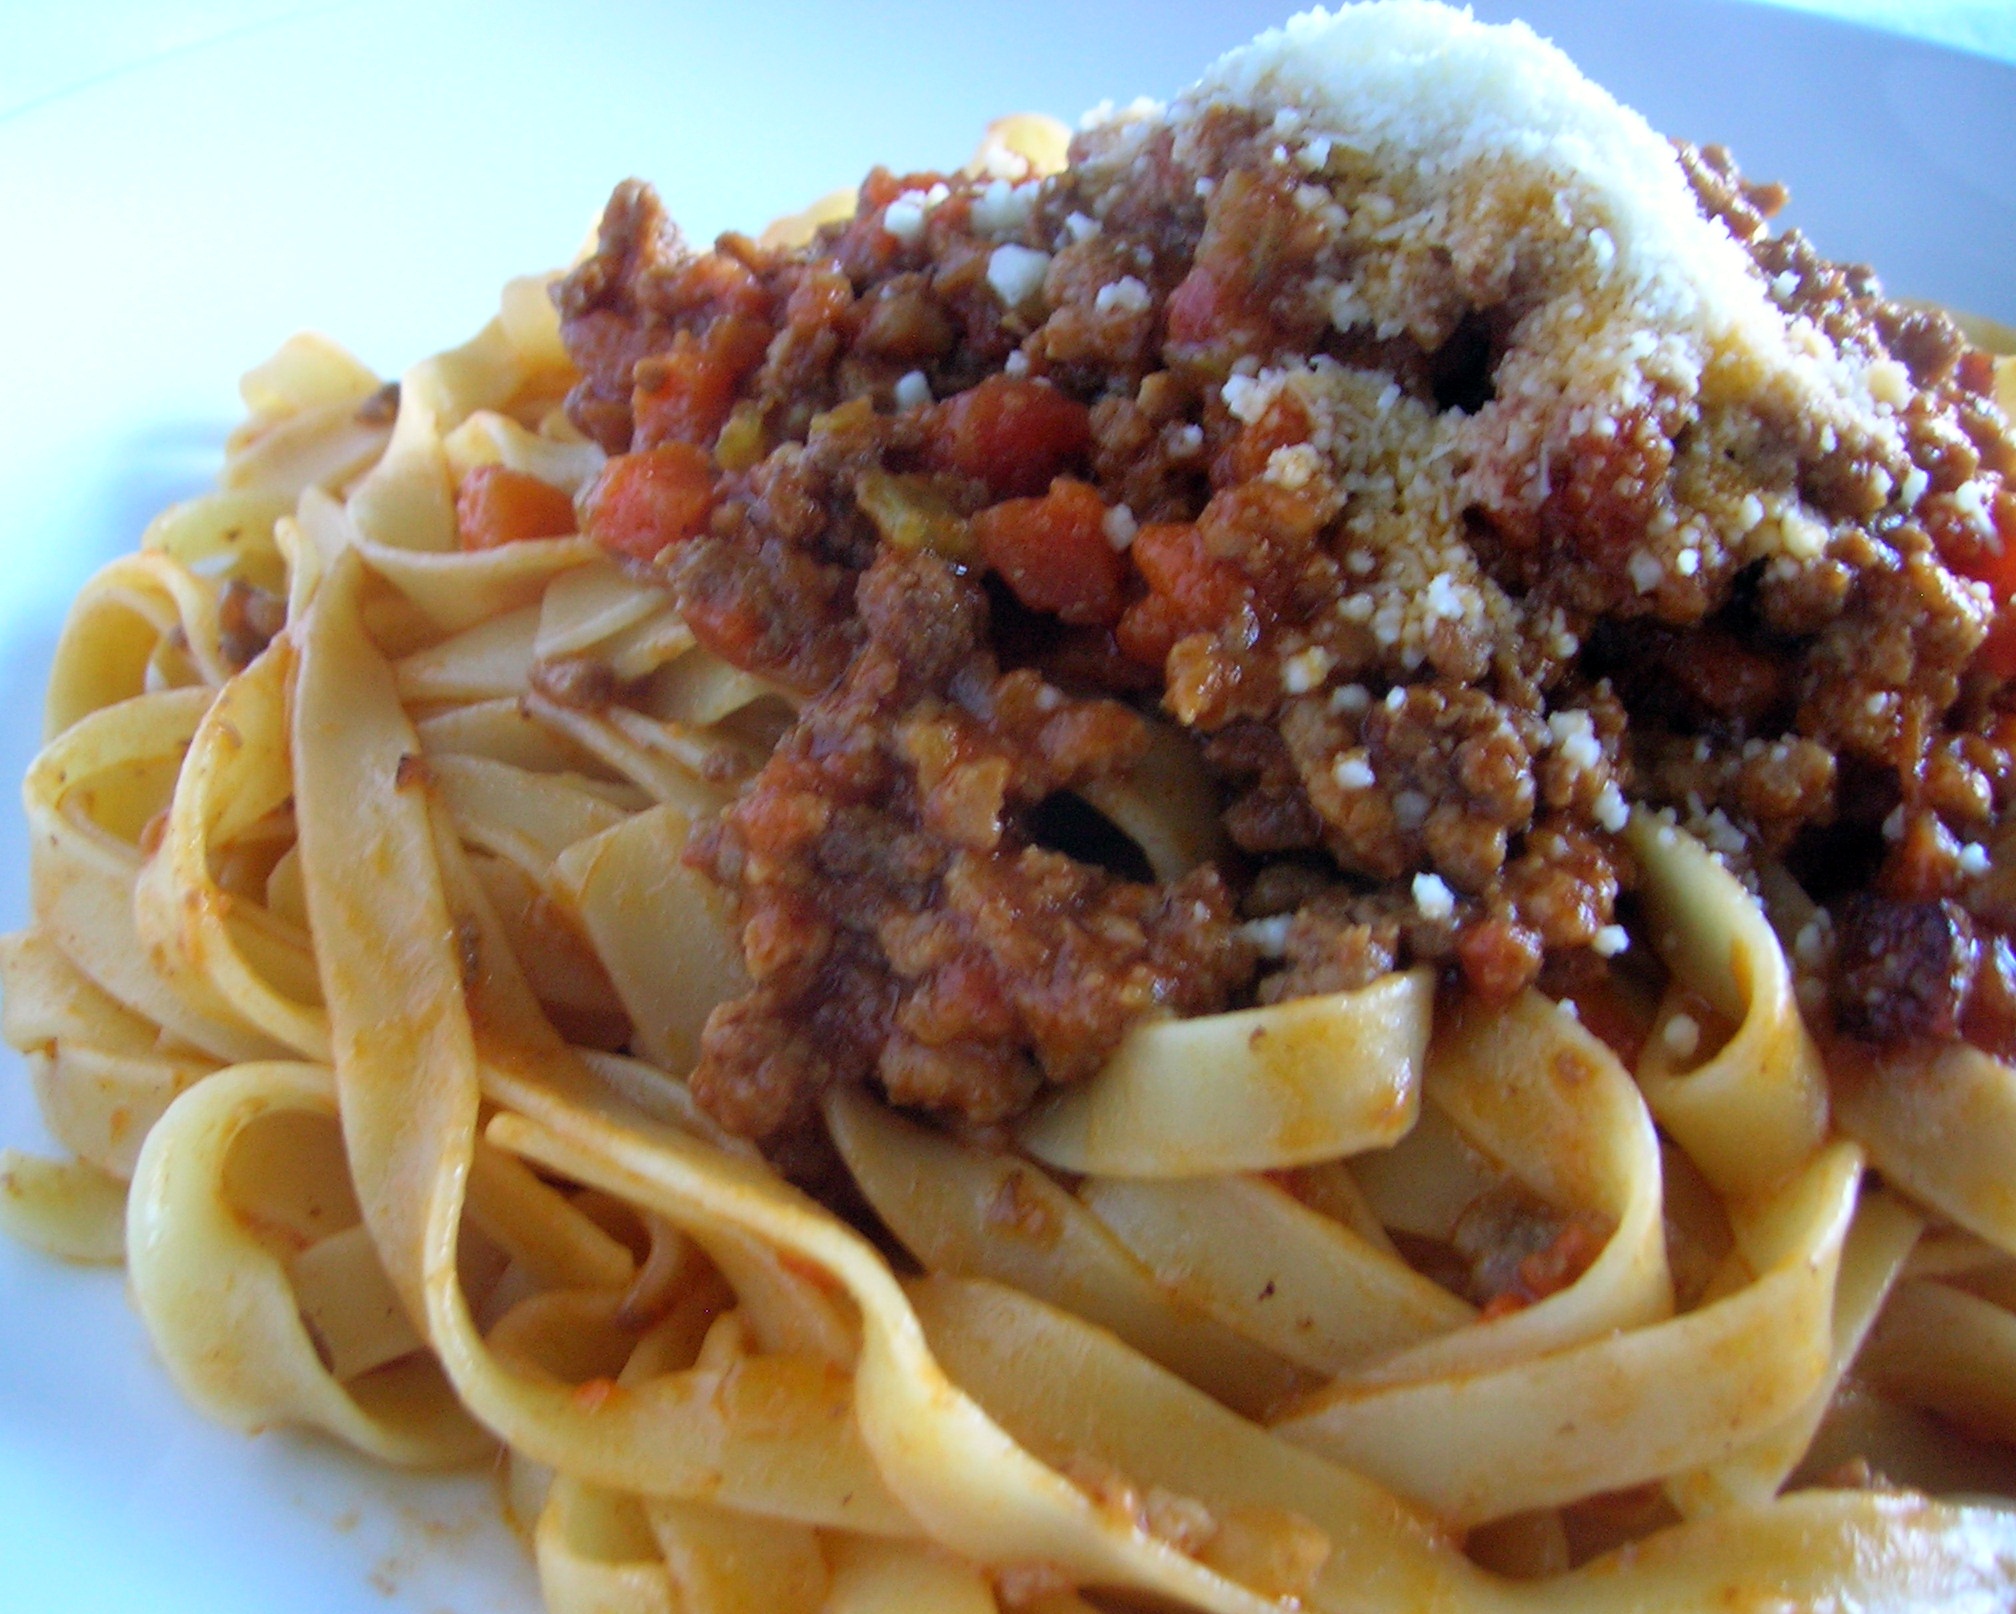
I promise you, this pot roast recipe makes one of the most delicious pot roasts you have ever eaten. It might be a little different from your mom’s, but this dish has a wonderful sweetness from the onions and carrots and tomatoes and the meat is so tender you can cut it with a fork. My mom added peas with the vegetables. That gave it a nice touch. The gravy, or juice as I like to call it, is so beefy and delicious you can lap it up with a spoon. Bread dunking is allowed. If you cool this dish and skim off some of the fat, you can eat it like a soup. It’s that good. I like to cut up and shred the meat into bite size pieces and have a bite of everything together in a soup bowl. I sometimes eat it with a spoon so I don’t miss a drop. Some of you might like to eat it the more traditional way over a bed of mashed potatoes. It’s good however you decide to serve it.
I mentioned to my friend that I will be posting a recipe on pot roast. He was glad to hear it.

Italian Pot Roast
- 3-4 pound well marbled chuck roast (the fat adds so much flavor)
- 2 tablespoons of olive oil
- 3 medium large onions, peeled and cut in quarters
- 7-8 medium carrots, scrubbed, unpeeled and cut in large chunks,
- 4 cloves garlic, chopped
- 1 cup red wine
- 2 cups of cold water
- 2 beef bullion cubes
- 2-3 sprigs of fresh rosemary
- 3-4 sprigs of fresh thyme
- 2 bay leafs
- 1 8 ounce can of tomato sauce
- One 8 ounce package frozen peas (optional)
- Salt and pepper to taste
Preheat oven to 275 degrees.
Take the roast out about a half hour before cooking to bring it to room temperature. It will cook quicker at this low oven temperature. A 3 pound roast should cook about 3 1/2 hours at 275 degrees. A 4 – 5 pound roast should cook about 4 hours.

Heat a large dutch oven on medium high heat. Add two tablespoons of oil. Pat the meat dry with paper towels. The meat will brown better if patted dry. Salt and pepper each side liberally.

Brown the meat about 4 minuets on each side. Once the meat is browned remove it and set aside.
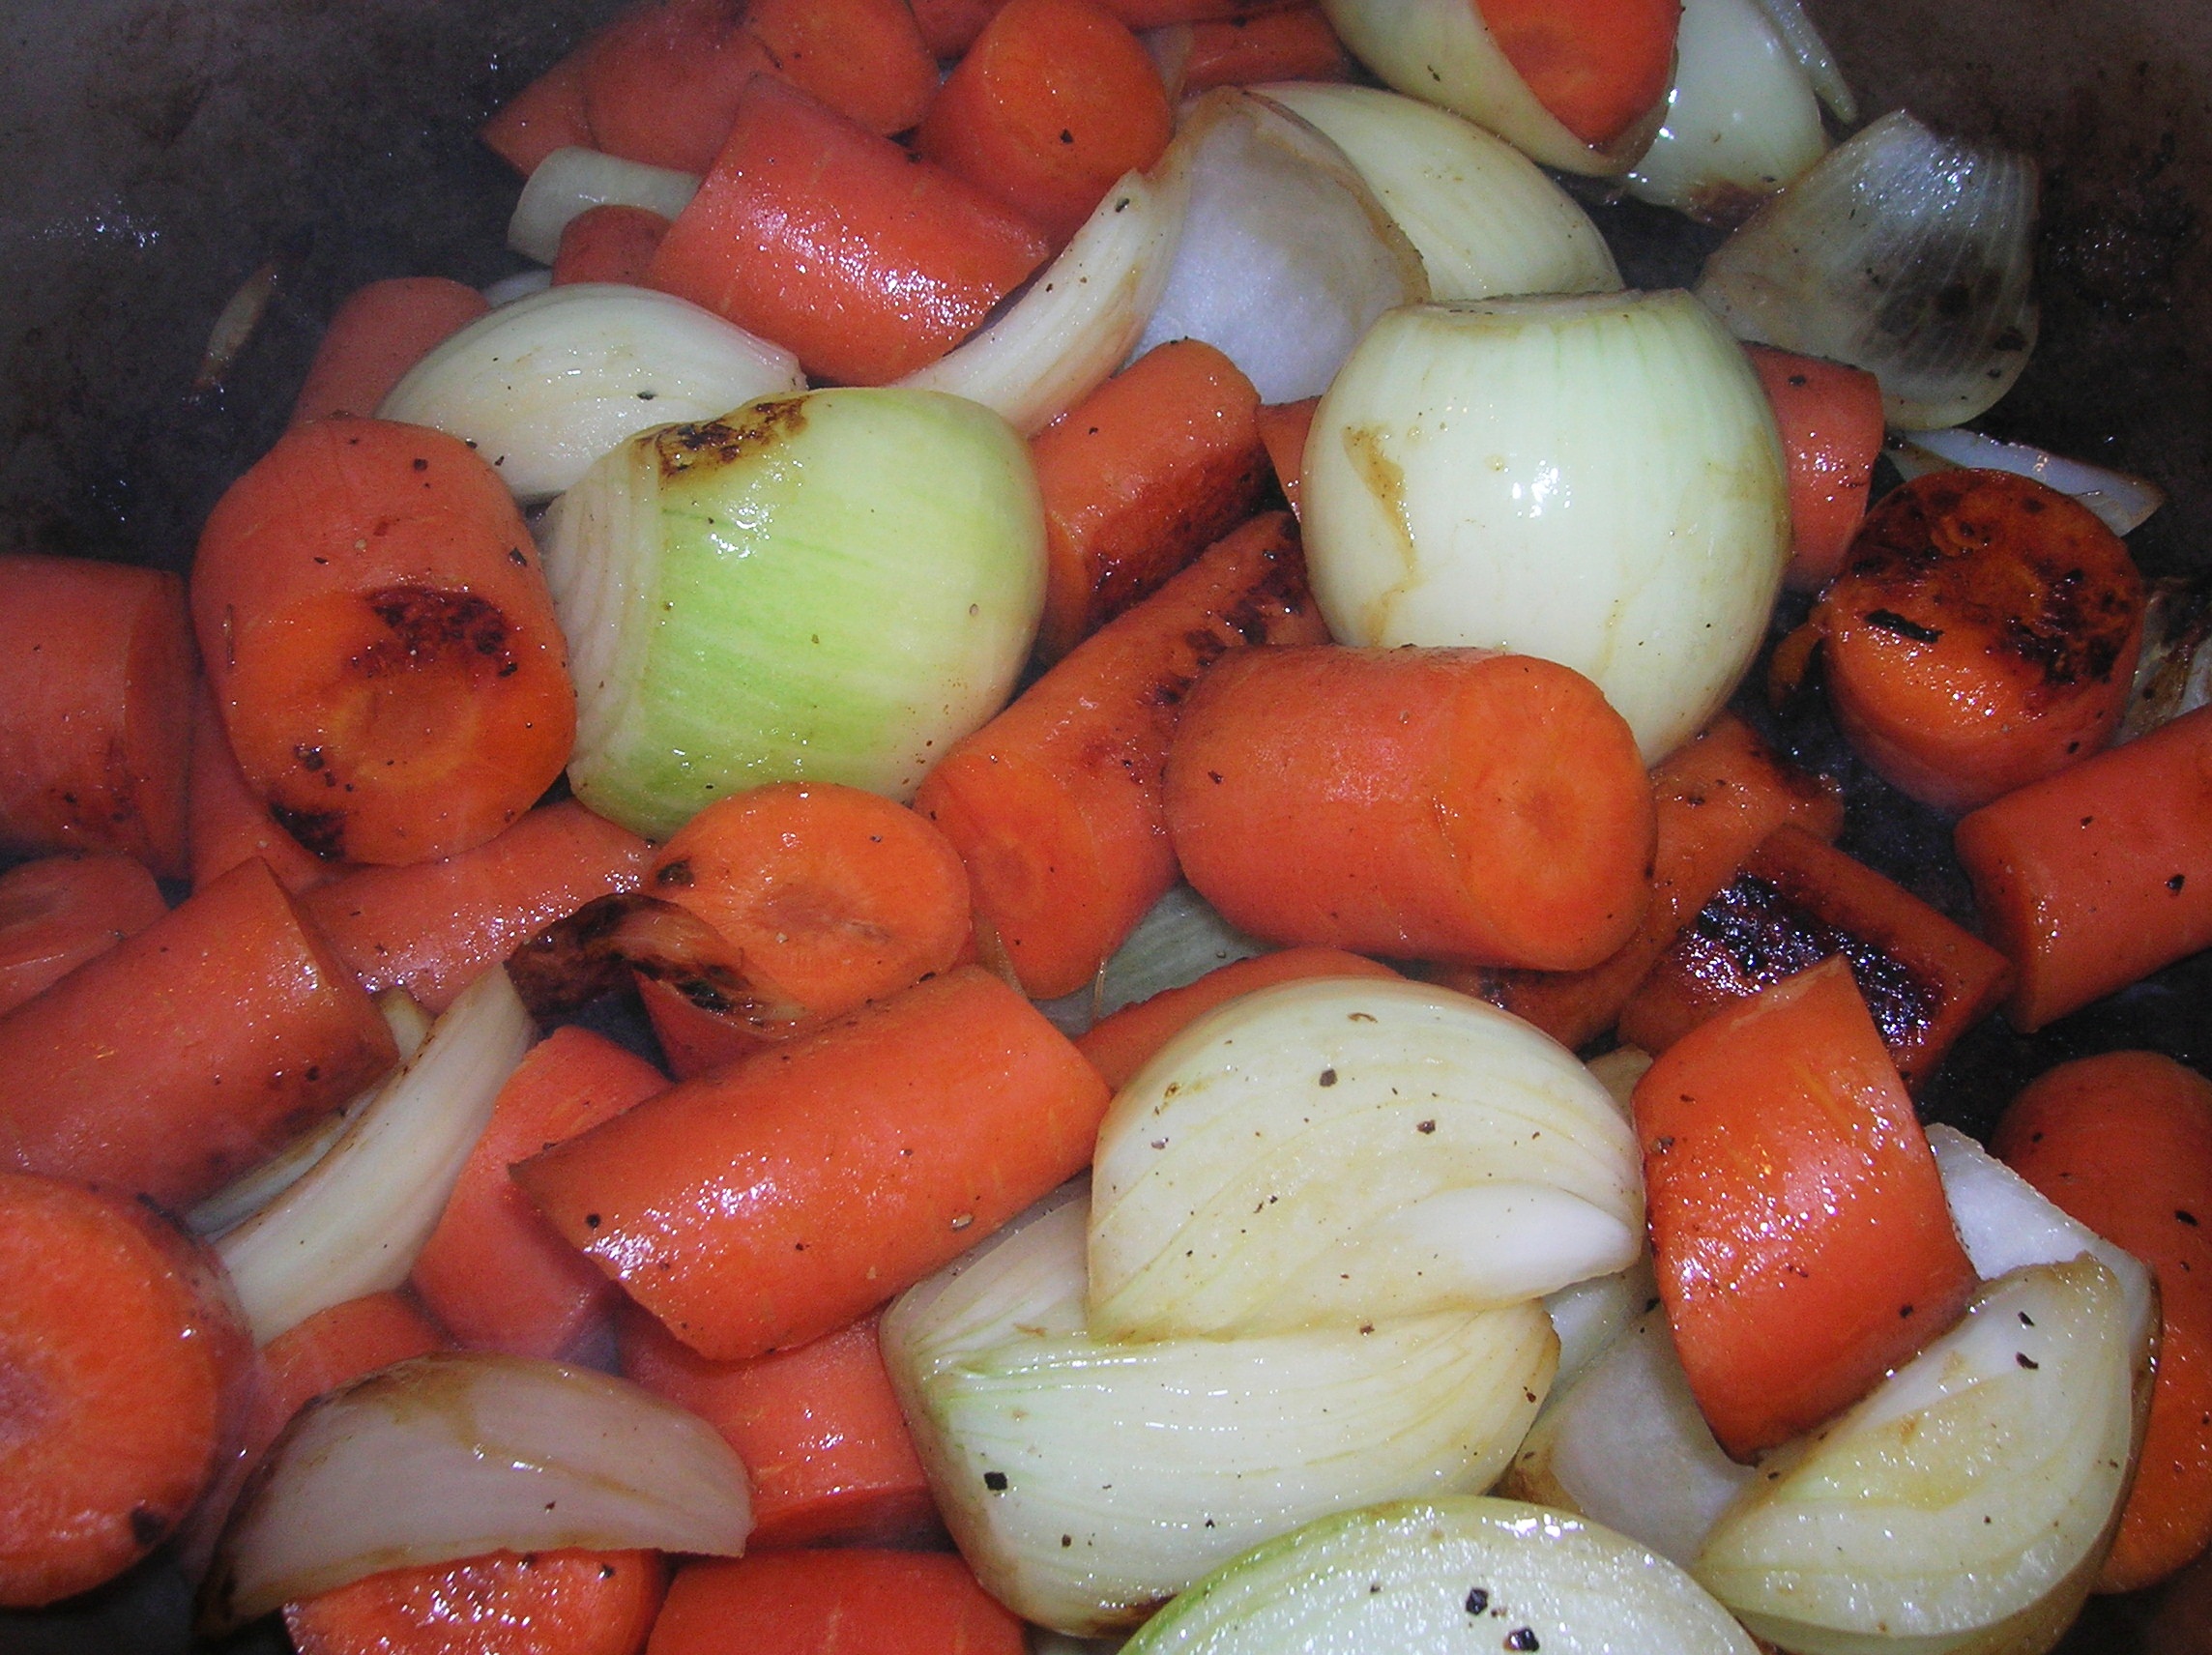
Add the carrots and onions to the pot. Salt and pepper them. Let sit untouched for about 3 minutes. Stir them around and let sit another 3 minutes until nicely browned all over. Add the garlic and allow to cook while stirring for about a minuet.
De-glaze the pot with the red wine. Allow the wine to evaporate for about 2 minuets while stirring up any little bits stuck to the bottom of the pot. Add the meat back to the pot and arrange the vegetables around it. Add the 2 cups of water, 2 bullion cubes, rosemary, thyme, tomato sauce and 2 bay leaves. Don’t add the peas until the last half hour of cooking. Bury all the herbs under the vegetables and stir to incorporate everything. Return to a boil. Cover and place in the oven for 3 1/2 hours.
The last half hour add the frozen peas to the pot and stir into the vegetables. Cover and cook the last half hour. Taste for salt.

The meat should be fork tender. It will probably break apart as you lift it from the pot. Slice it or shred it to your liking and serve with the carrots and onions.